
 Pin
Pin
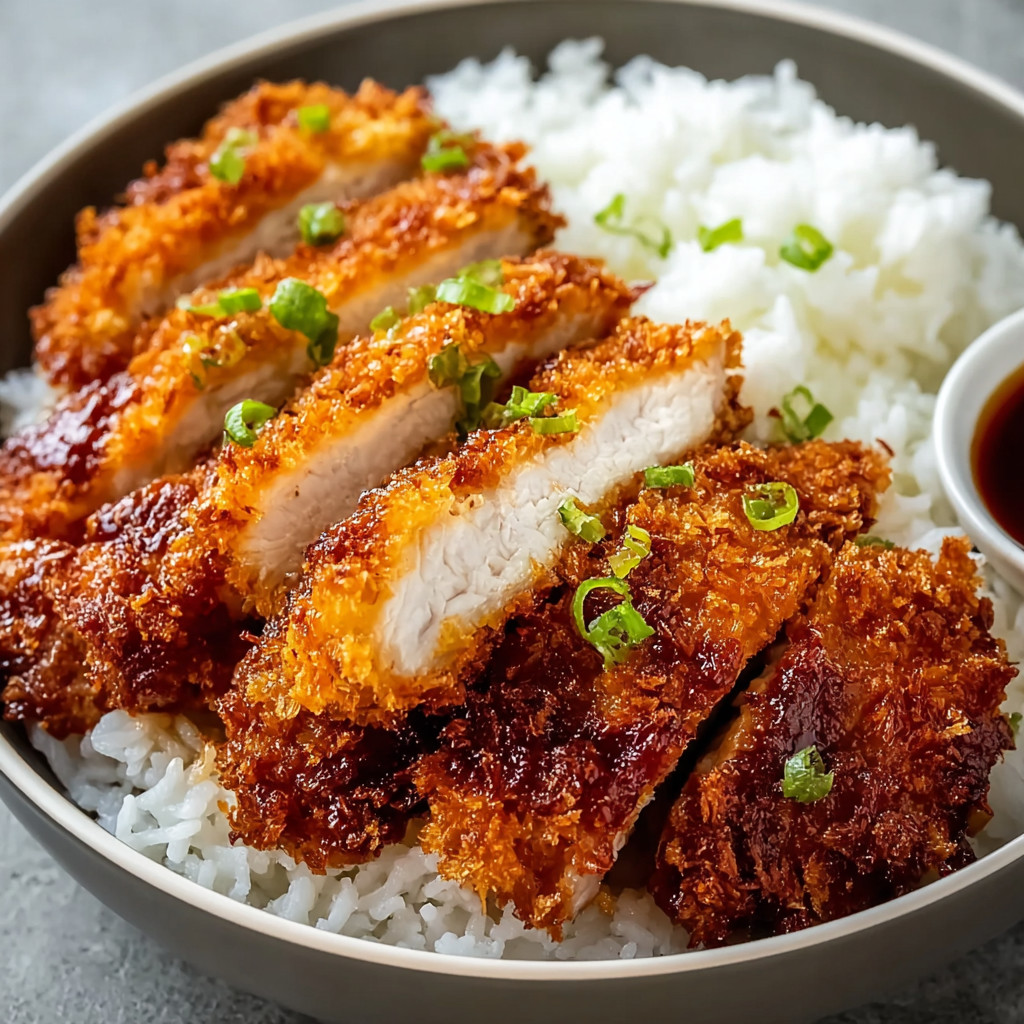
Chicken Katsu is the secret to a weeknight dinner that feels like a special treat without much fuss. This Japanese-inspired crispy fried chicken is all about achieving golden texture and juicy interiors using pantry staples and a clever three-step coating. With just a few tips and a bit of patience, you get restaurant-style results at home that are always crowd-pleasers.
The first time I made this for my family, everyone fought over the last piece. Since then, it is requested at every birthday dinner and lazy Sunday lunch.
Ingredients
- Boneless skinless chicken thighs: Give the juiciest texture Choose organic or air-chilled for best results
- Panko breadcrumbs: These make the coating super crunchy Purchase Japanese-style panko for lightness
- All-purpose flour: Essential for a crisp foundation Use fresh for best results
- Large eggs: Holds the crumbs in place Choose farm fresh if possible
- Salt pepper garlic powder: Essential seasoning for both chicken and breading Always use fresh cracked pepper and real garlic powder for the best flavor
- Vegetable oil: Key for frying Pick a neutral oil with a high-smoke point like canola or soybean
Step-by-Step Instructions
- Chicken Preparation:
- Pat chicken thighs fully dry using paper towels and trim off any visible fat Let them come to room temperature then season each one well with salt and pepper both sides This ensures even cooking and boosts flavor
- Dredging Station Setup:
- Arrange three shallow dishes in a row In the first add flour mixed with garlic powder salt and pepper In the second whisk eggs with a splash of milk In the third bowl place panko and season with a pinch of salt This order speeds up the breading process and keeps things tidy
- Coating Process:
- Dip each piece of chicken fully into the flour and shake away all excess Next coat it generously in egg letting extra drip away Press into panko on both sides so every inch is fully covered The firmer you press the crispier the result
- Resting Period:
- Lay coated chicken on a wire rack and let it sit at least ten minutes This gives the crumbs time to adhere while your oil heats up to a steady three hundred fifty degrees Use a thermometer to check for accuracy
- Frying Technique:
- Heat enough oil so each piece of chicken is submerged about halfway Carefully add chicken breaded side down and do not crowd the pan Fry four to five minutes per side turning once until golden and crisp Use tongs to lift to another wire rack and season immediately while hot
 Pin
Pin
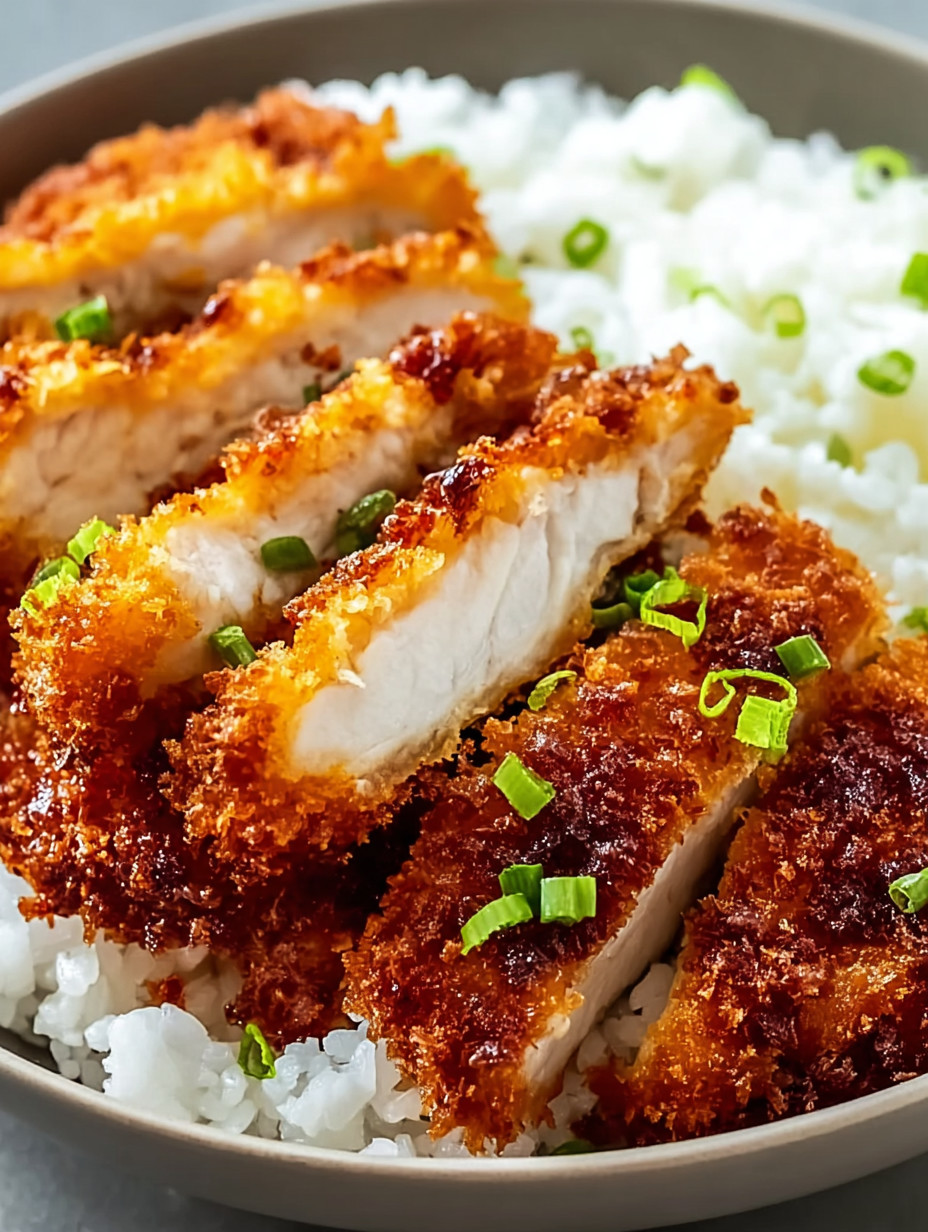
The magic of panko breadcrumbs never fails to amaze me The first time I swapped out regular crumbs for panko I could not believe the shatteringly crisp crust that came out My kids now always ask if I used the good crumbs
Storage Tips
Chicken Katsu keeps well for up to two days in the fridge Store in an airtight container and reheat in a hot oven to return the crispiness Avoid microwaving as much as possible unless you want a softer texture Leftovers also work well chopped up in salads or over noodles
Ingredient Substitutions
Chicken breast can be used instead of thighs Just pound it thin for even cooking Gluten-free flour and gluten-free panko can be swapped in if you are sensitive to wheat For a different spice profile try adding sesame seeds or a pinch of cayenne to the panko
Serving Suggestions
Classic serving is over steamed white rice with shredded cabbage and a drizzle of tonkatsu or barbecue sauce It is also fantastic sliced and layered into a sandwich with pickled cucumbers or added to a Japanese curry bowl with lots of vegetables
 Pin
Pin
Cultural Context
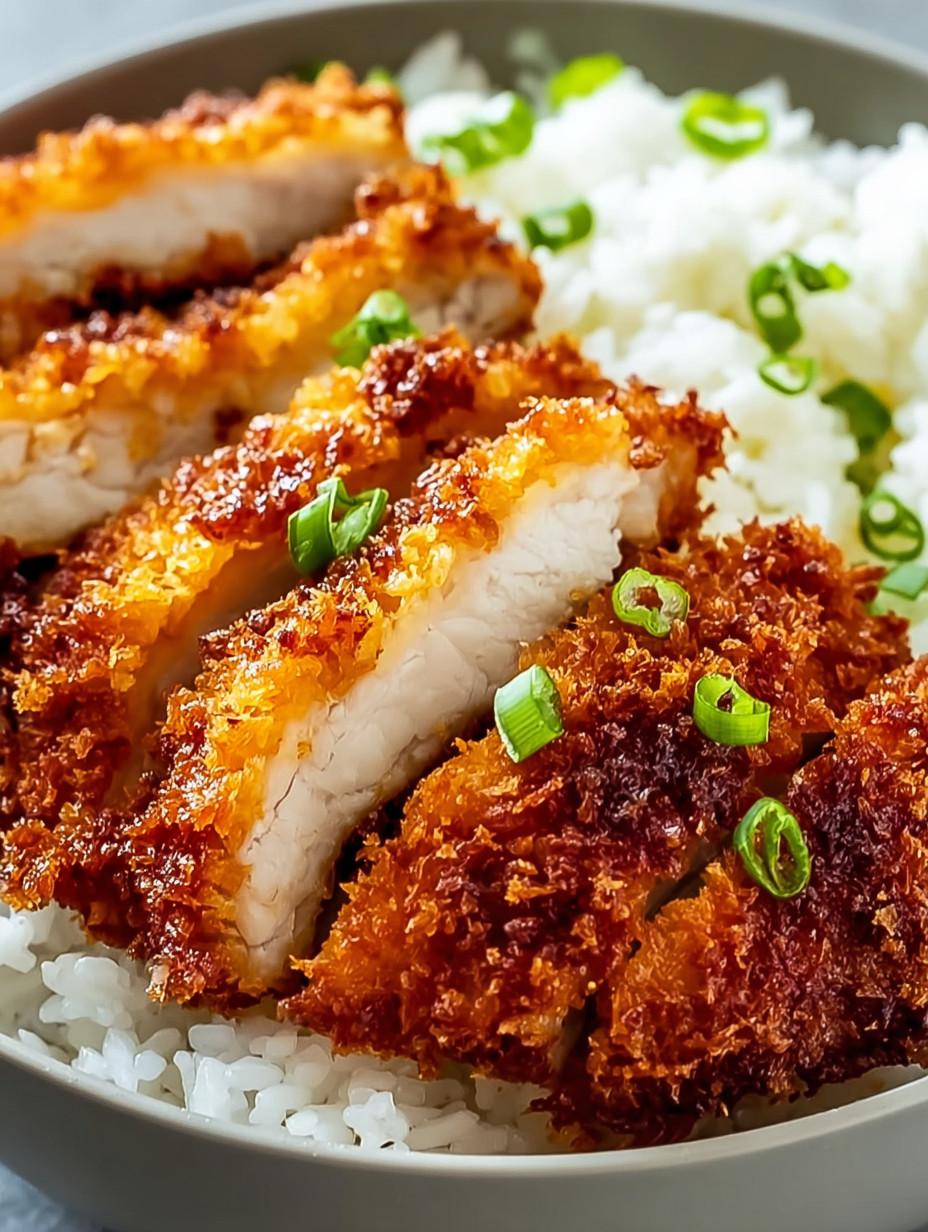
Chicken Katsu comes from Japanese cuisine which specializes in using panko breadcrumbs for unique crunch It is often enjoyed as part of a larger meal with rice and miso soup and has become popular worldwide for its irresistible texture and comforting flavor
Recipe FAQs
- → What's the best oil temperature for frying chicken?
Maintain oil temperature at about 350°F (175°C) to ensure a golden, crispy crust while cooking the chicken through evenly.
- → Can chicken breast be used instead of thighs?
Yes, but pound the breast to an even thickness to promote uniform cooking and prevent dryness.
- → Why rest the breaded chicken before frying?
Resting for 10 minutes helps the coating adhere firmly, preventing it from falling off during frying and ensuring crunchiness.
- → What are common serving suggestions?
Serve sliced with steamed rice, shredded cabbage salad, Japanese curry sauce, or use in sandwiches and bowls for versatility.
- → Can this dish be prepared ahead of time?
Best served fresh, but it can be kept warm in a low oven for up to 30 minutes without losing crispness.