
 Pin
Pin
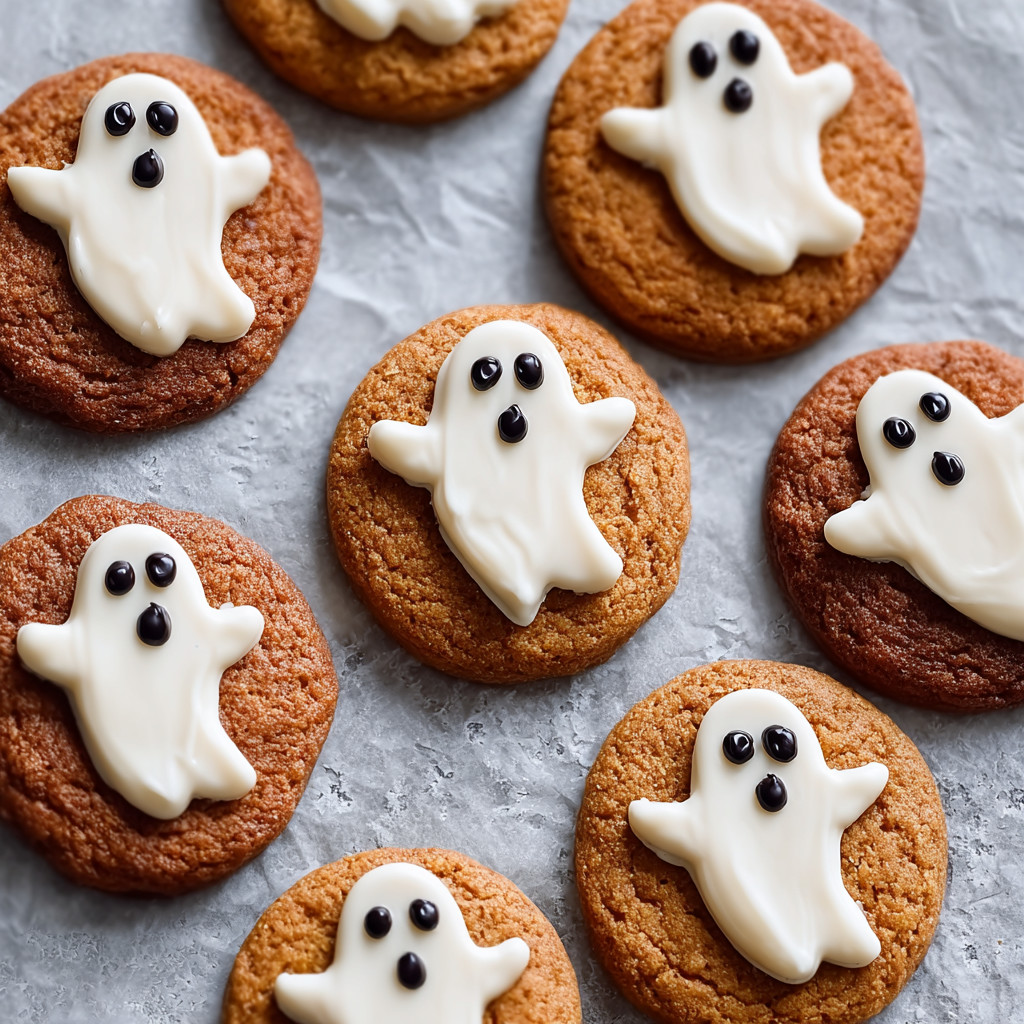
Spooky Ghost Brown Butter Pumpkin Cookies have become a staple at our Halloween gatherings since I first dared to try cookie decorating for my daughter’s baking club. These cookies marry warm autumn spices with nutty brown butter and the playful magic of imperfect white chocolate ghosts. Once I let go of perfection and embraced drippy chocolate and whimsical faces, Halloween baking became a tradition even the kids cannot wait for.
Ingredients
- Brown Butter and Maple Pumpkin Cookie Dough: made from quality butter and maple syrup for the best nutty and earthy base
- High quality white chocolate: like Ghirardelli wafers for smooth melting and classic ghost look
- Black candy melts: for clear and easy facial details that set quickly
- Piping bag: for neat ghost faces and better control than plastic bags
- Medium cookie scoop: for uniform cookies and consistent baking
- Light baking sheet: so the cookies do not overbrown and the color stays golden
- Parchment paper: for practicing shapes and clean up
- A small spoon: for easily shaping each ghost
- Freshest spices and pure pumpkin puree: for the richest flavor
Step-by-Step Instructions
- Bake the Cookie Base:
- Prepare and bake Brown Butter and Maple Chewy Pumpkin Cookie dough. Bake until the edges are set but centers are still soft so cookies remain chewy. Let cookies cool on a wire rack until completely at room temperature. Heat on the cookie will melt your white chocolate and ruin the decorations.
- Organize Your Decoration Station:
- Line up the cooled cookies on parchment paper and gather your melted white chocolate black candy melts a small spoon and piping bag. A tidy work area gives you plenty of space for creative decorating.
- Melt and Test White Chocolate:
- Gently melt white chocolate in a microwave-safe bowl in 30-second increments stirring each time. It should pour easily but not run all over your cookie which means it is ready for ghost making.
- Practice Ghost Shapes:
- Spoon a little melted chocolate onto parchment and use the back to drag it downward in a teardrop motion. This is your chance to test your pressure and speed before decorating real cookies.
- Make Your Ghosts:
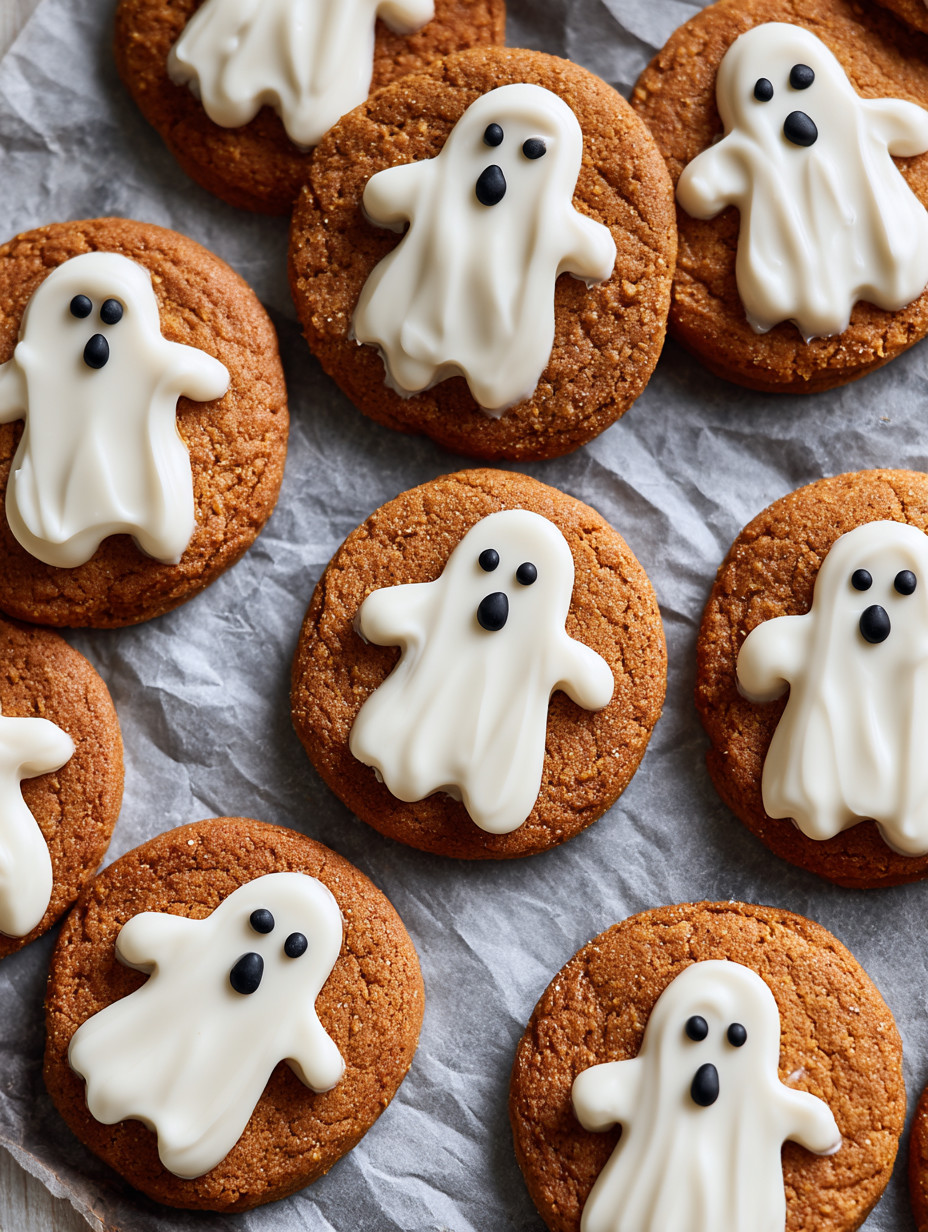
- Spoon a dollop of white chocolate on the top side of each cookie. Lightly drag the back of your spoon down to form a smooth ghost with flowing edges. Every shape will be a little different and that is the charm.
- Let Chocolate Set:
- Let cookies sit at room temperature or pop them gently into the fridge. Chocolate needs to set firm before you attempt facial details or the features will bleed.
- Make and Pipe Faces:
- Melt the black candy melts gently and pour them into a piping bag with a very small tip snipped off. Pipe two dots for eyes and one large or small dot for a ghost mouth. Work with steady hands and do not wait too long or the candy will harden as you work.
 Pin
Pin
I love how each batch brings out new ghost personalities — some smiling some surprised and every one adorable. My youngest was so proud to choose her favorites to share at school and the cookies became instant conversation starters.
Storage Tips
Store decorated cookies at room temperature in a single layer or with parchment between layers if you need to stack them. They keep well in an airtight container up to one week. For longer storage freeze undecorated cookies only. Thaw and decorate just before serving for best results.
Ingredient Substitutions
You can substitute the base flour for a gluten free blend with xanthan gum without a problem. If you need to use chocolate chips instead of melting wafers add a half teaspoon of coconut oil to help them melt smoothly. For dairy free swaps choose vegan butter and plant based white chocolate.
 Pin
Pin
Serving Suggestions
Serve your cookies on black plates for drama and scatter with small Halloween props like plastic spiders. Create a variety of ghost faces for extra fun. These cookies also make wonderful hostess gifts when packaged in festive bags and tied with Halloween ribbons.
Cultural and Historical Fun
Decorating ghost shapes pays homage to classic Halloween imagery. Yet the use of brown butter adds a modern twist rooted in European pastry tradition. This recipe brings together playful American decorating with a nod to old world flavor techniques.
Recipe FAQs
- → What makes brown butter important in these cookies?
Brown butter adds a rich, nutty aroma and deeper flavor complexity that lifts the natural sweetness of pumpkin and maple syrup.
- → How do I achieve smooth white chocolate for decoration?
Melt white chocolate in short microwave bursts, stirring frequently until silky but still thick enough to shape into ghosts.
- → Can I prepare these cookies in advance?
Yes, base cookies can be baked days ahead and decorated 1-2 days before serving without losing freshness or texture.
- → What’s the best way to store decorated cookies?
Keep them in airtight containers with parchment paper between layers to protect delicate white chocolate shapes.
- → How do I avoid smudging black candy melt details?
Allow white chocolate to fully set before piping eyes and mouths, and work quickly as candy melts harden fast.
- → Can these cookies be made gluten-free?
Substitute regular flour with a gluten-free blend containing xanthan gum; decorating steps remain the same.