
 Pin
Pin
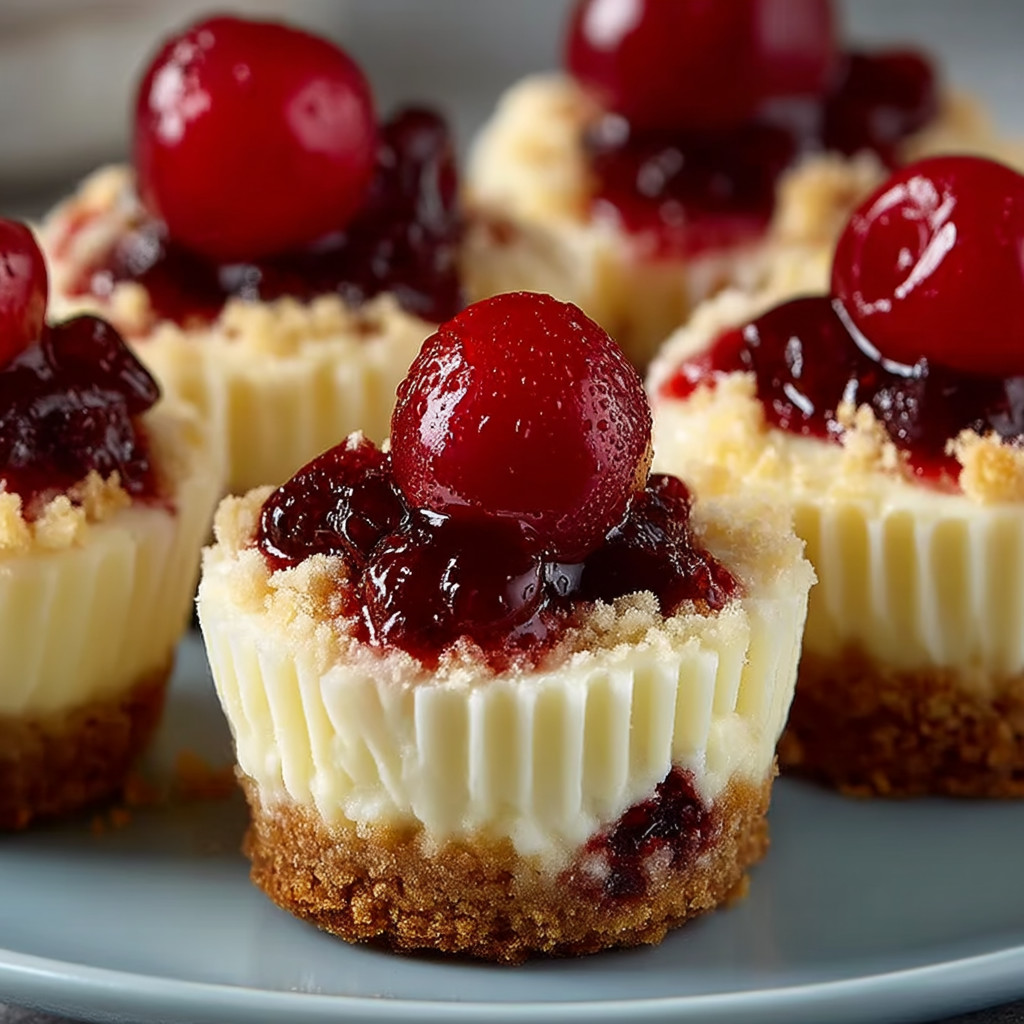
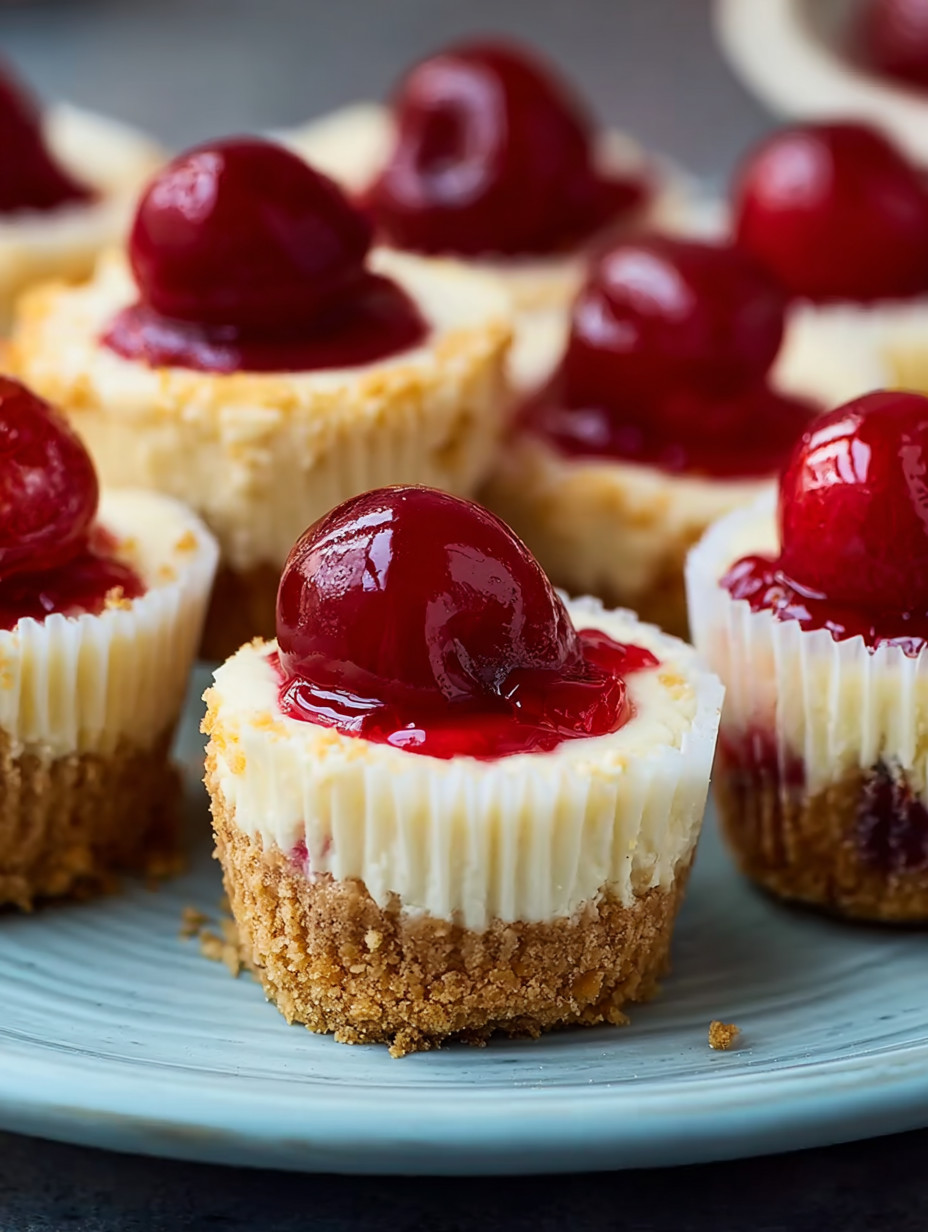
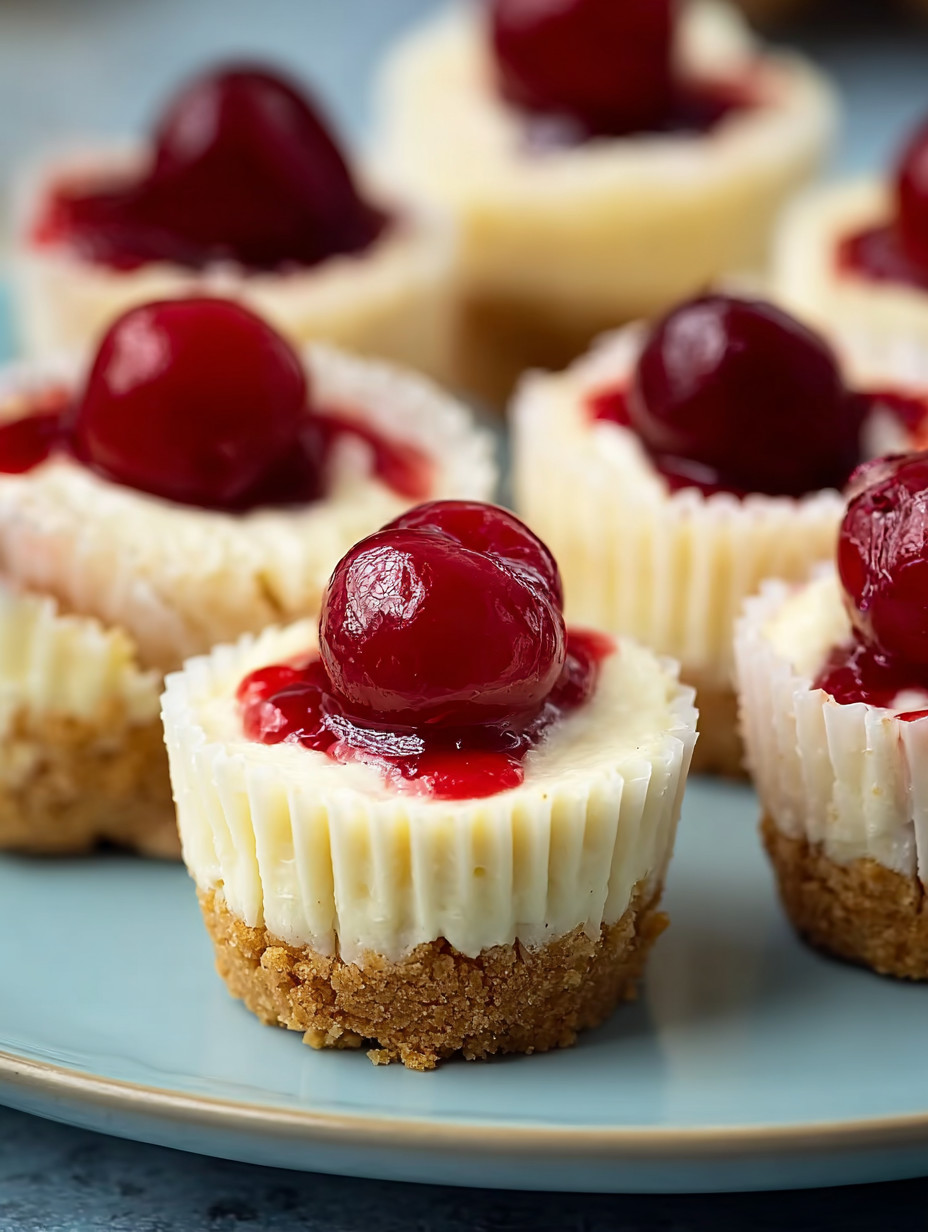
Mini cheesecakes are my solution for an easy yet indulgent dessert when I want something special without a fuss. Their creamy filling paired with a buttery crust and cherry topping makes every bite rich and satisfying. These are simple to whip up and chill, making them a go-to for any celebration or just when the craving hits.
I started making these cheesecakes for my friend’s potlucks and now I am expected to bring them for every holiday. The best part is seeing the look of surprise when people realize they are homemade.
Ingredients
- Vanilla wafers: Crushed vanilla wafers form the quick and tasty base If possible choose a brand that tastes buttery and fresh
- Cream cheese: Softened cream cheese gives each cheesecake that signature dense and silky texture Always look for full fat blocks for best results
- White sugar: Sugar sweetens and balances tanginess of the cream cheese Go for pure white granulated sugar
- Eggs: Large eggs hold the filling together Choose fresh eggs with bright yolks
- Vanilla extract: Adds warmth and aroma to the filling High quality vanilla delivers the best flavor so skip artificial extracts
- Cherry pie filling: Sweet and tangy cherry pie topping gives these cheesecakes a pretty look and juicy finish Pick a brand where cherries are the first ingredient for better taste
Step-by-Step Instructions
- Preheat and Prep:
- Preheat your oven to three hundred fifty degrees Fahrenheit After lining two miniature muffin tins with paper liners get out all your ingredients and crush the vanilla wafers until they are fine crumbs
- Make the Crust:
- Take about half a teaspoon of the crushed wafer crumbs and press firmly into each muffin liner The crust should cover the bottom in an even layer to hold the filling
- Mix the Cheesecake Filling:
- In a medium bowl beat the softened cream cheese with a hand mixer until smooth This part is key for avoiding lumps Gradually add sugar and keep beating until fluffy Add eggs one at a time mixing until fully incorporated before adding the next Pour in vanilla extract and mix just until blended for a smooth batter
- Fill the Muffin Cups:
- Spoon the cream cheese mixture into each prepared cup filling almost to the top Do not worry if they look full They will not overflow
- Bake:
- Slide the muffin tins into the oven and bake for about fifteen minutes The cheesecakes should be just set with puffed tops Watch closely so they do not overbake as this can cause cracks
- Cool in the Pan:
- Take the tins out of the oven and let them cool completely in the pan This helps them firm up and makes removal from the liners much easier
- Add the Cherry Topping:
- Once cooled top each cheesecake with a teaspoon of cherry pie filling You can substitute with blueberry or strawberry topping if desired
- Chill and Serve:
- Refrigerate the cheesecakes until fully chilled for at least one hour before serving This step ensures the best creamy texture and makes them easy to remove from wrappers
 Pin
Pin
My favorite ingredient in this recipe is the cream cheese because its velvety richness makes these mini treats irresistible. I always remember the first time I made these for my niece’s birthday party and the little ones kept coming back for seconds.
Storage Tips
Keep leftover mini cheesecakes in an airtight container in the refrigerator for up to five days They taste best chilled straight from the fridge If you want to prepare ahead freeze the cheesecakes without the topping Wrap each cheesecake tightly in plastic and place in a sealed container Freeze for up to two months Thaw overnight in the refrigerator and add topping before serving
Ingredient Substitutions
Swap out the vanilla wafers for graham crackers or chocolate cookies for a different crust flavor Use mascarpone cheese in place of some of the cream cheese for a lighter Italian style twist Try lemon extract instead of vanilla extract for a citrusy spin or add a hint of grated lemon zest for brightness
Serving Suggestions
Present mini cheesecakes on a tiered dessert stand for a fancy touch Offer an assortment of toppings such as raspberry preserves caramel sauce or chocolate shavings for variety Add a small dollop of whipped cream or a mint leaf to each cheesecake for extra flair
 Pin
Pin
A Sweet Classic With a Story
Mini cheesecakes have been a staple at celebrations across the world because they are easy to share and customize. My family enjoys trying them with different seasonal fruit toppings each time we gather for birthdays or holidays which has made them a recipe tradition that everyone looks forward to.
Recipe FAQs
- → What is the best way to achieve a smooth cheesecake filling?
Ensure the cream cheese is softened before mixing and beat it well to create a fluffy, lump-free filling.
- → How can I prevent the mini cheesecakes from cracking?
Avoid overbaking and allow the cheesecakes to cool gradually in the pans before chilling to maintain a smooth surface.
- → Can I use different fruit toppings besides cherry?
Yes, blueberry or strawberry pie fillings work well and add a nice variation in flavor.
- → How should I store leftover mini cheesecakes?
Keep leftovers in an airtight container in the refrigerator for up to 5 days, or freeze without topping for up to 2 months.
- → What’s the recommended serving temperature for these treats?
Serve chilled to enjoy the fullest creamy texture and refreshing flavor.