 Pin
Pin
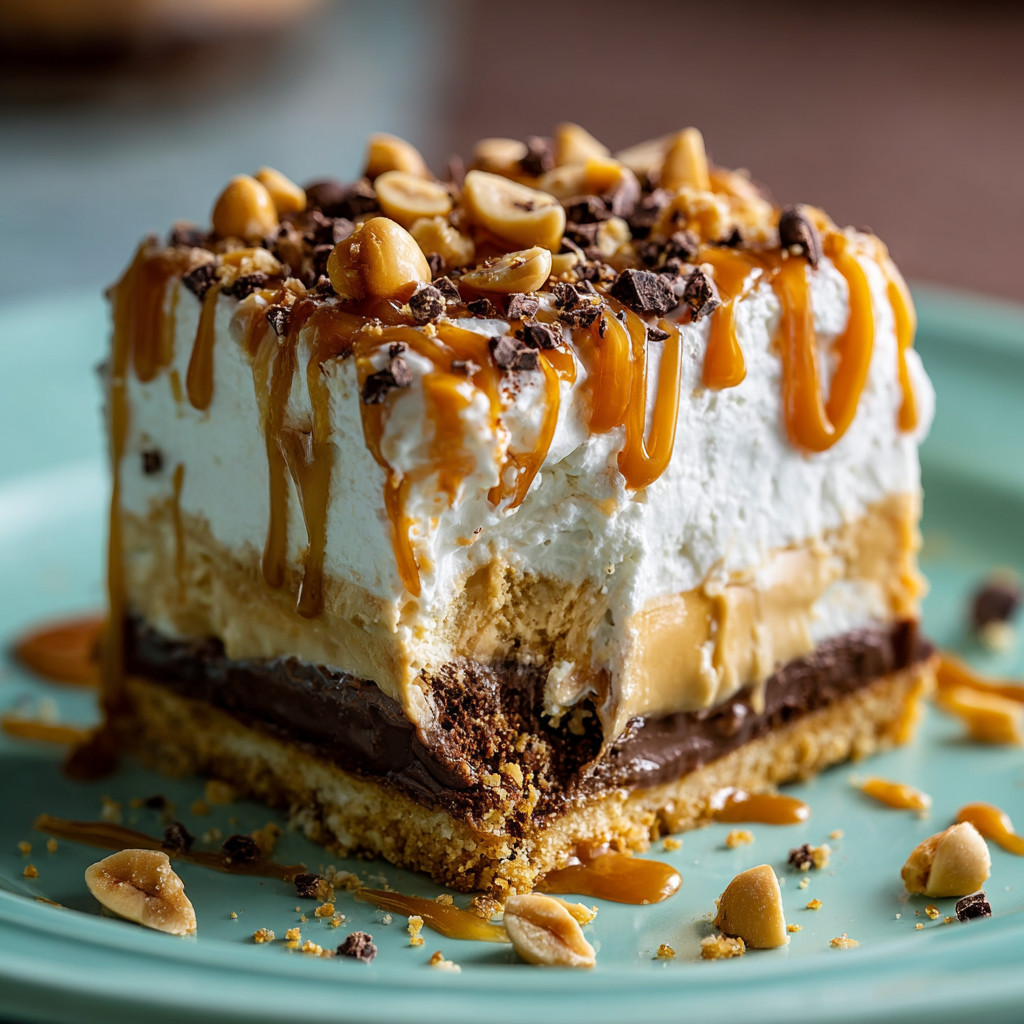
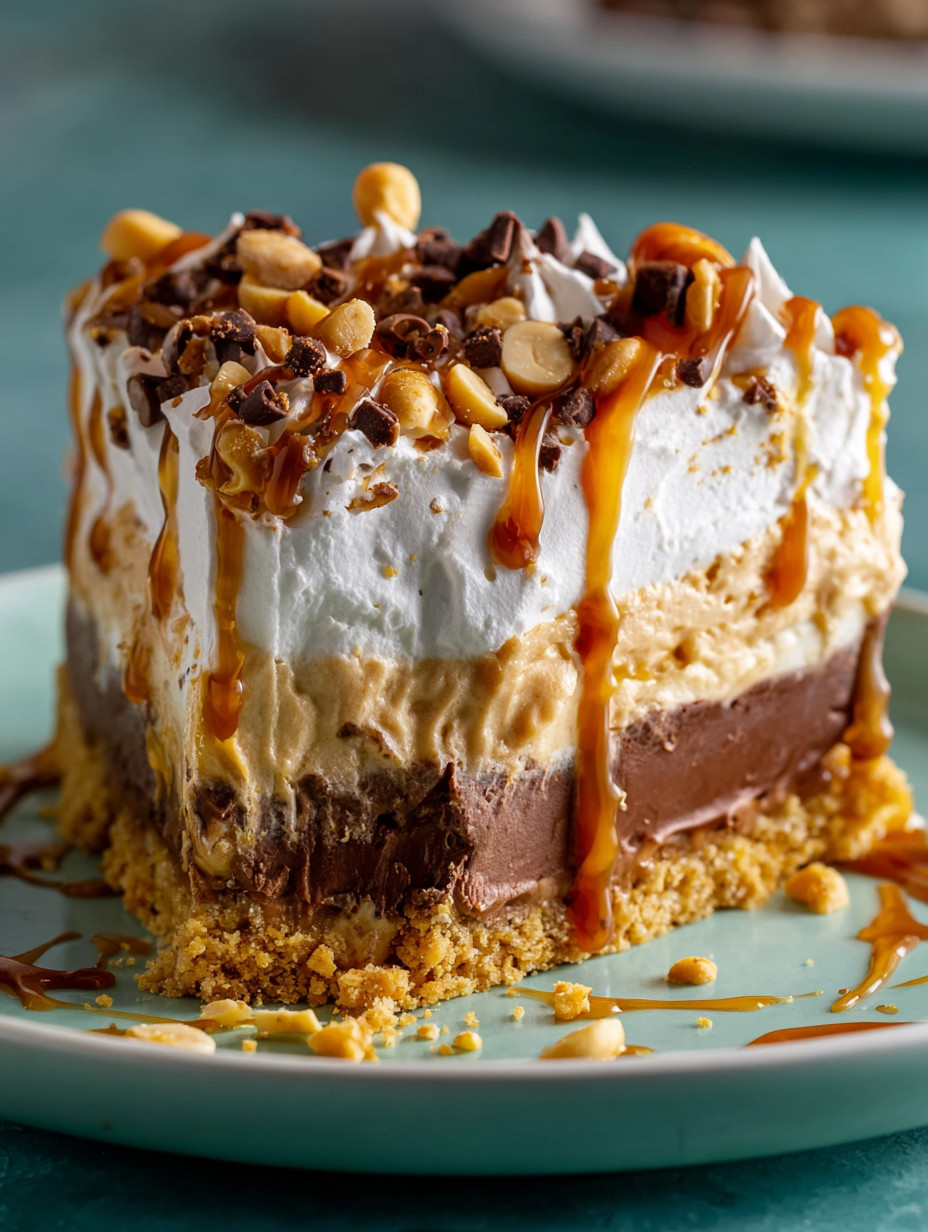
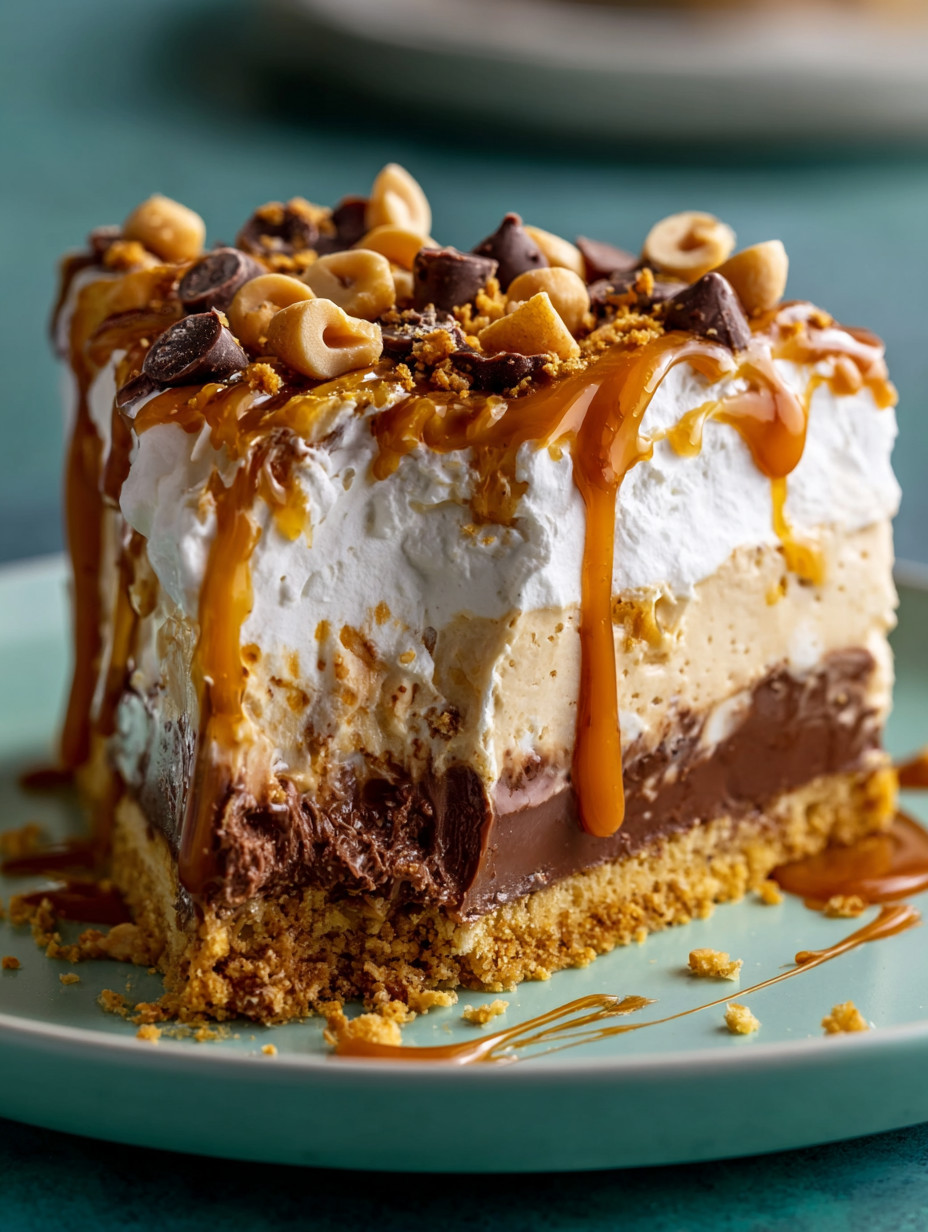
This no bake peanut butter lasagna is my go to whenever I want an impressive but easy dessert that never fails. Its stacked with creamy layers chocolate peanut butter and a salty sweet cookie crust so you get that classic chilled treat flavor without ever switching on the oven. The first time I made it my family polished it off in a single night and it has been my summer party pick ever since.
My friends request this every time we have a backyard dinner and it’s always the one people ask for the recipe after. Even my uncle who claims to not like sweets ended up stashing a secret square in the fridge.
Ingredients
- Nutter Butter cookies or graham crackers: bring sturdy texture and a nutty or more neutral base depending on what you want. For best flavor crush cookies fresh in a food processor instead of buying pre crushed crumbs
- Melted unsalted butter: helps the crust hold its shape and gives a rich flavor. Use quality butter for best results
- Roasted salted peanuts: add crunch and extra peanut punch. Chop them right before using for the freshest taste
- Semisweet chocolate chips: melt into a thick ganache. Look for real chocolate chips without waxy fillers
- Heavy cream: provides richness in the chocolate ganache. Use full fat for velvety results
- Cream cheese: softens the peanut butter mousse and adds a light tang. Check that it is room temperature for a smooth blend
- Creamy peanut butter: is the star ingredient so use your family favorite brand. Natural peanut butter works if well mixed but needs a dash of salt
- Powdered sugar: sweetens and helps the mousse hold shape. Sift before adding to avoid lumps
- Pure vanilla extract: brings warmth to the cheesecake mousse. Real extract makes a big difference here
- Whipped topping or homemade whipped cream: lightens the layers and makes spreading easy. Full fat or light both work just do not use frozen straight from the freezer
- Chocolate pudding mix and cold milk: create a thick chocolate mousse. Instant mix is best for speed skip cook and serve style for this
- Mini chocolate chips chopped peanuts extra peanut butter drizzled and optionally crushed pretzels or Nutter Butter pieces: make the best topping combo. Pick your favorites for finishing
Step by Step Instructions
- Prep the Crust:
- Blend cookies or graham crackers with peanuts in a food processor until fine crumbs form. Add melted butter and combine well. Press the mixture into the bottom of a nine by thirteen inch baking dish using a flat measuring cup to make it even and packed. Freeze while preparing other layers so it sets firm
- Make the Chocolate Ganache Layer:
- Warm heavy cream in a small saucepan until steaming but not boiling. Pour over chocolate chips in a bowl and let it sit a minute. Stir gently until smooth and glossy. Let cool three minutes then spread evenly over the chilled crust. Refrigerate so it firms up while you continue
- Peanut Butter Cheesecake Mousse:
- Beat softened cream cheese and creamy peanut butter together until smooth and airy. Add powdered sugar and vanilla mixing until well combined. Fold whipped topping in gently using a spatula so the mousse stays light and fluffy. Spread this layer over the set ganache
- Chocolate Mousse Layer:
- In a bowl whisk instant chocolate pudding mix and cold milk until it thickens noticeably about two minutes. Fold in whipped topping to keep the texture creamy. Spread carefully over the peanut butter mousse being gentle to not mix layers
- Add the Final Whipped Topping:
- Dollop or spoon the remaining whipped topping across the entire dessert. Use an offset spatula to make soft swirls or peaks for a pretty finish
- Decorate and Chill:
- Drizzle warmed peanut butter over the top using a spoon to create ribbons. Sprinkle mini chocolate chips chopped peanuts and any extra toppings you love. Refrigerate at least four hours or overnight for clean slices and set layers
 Pin
Pin
Chilling in the fridge overnight gives the flavors a chance to meld and the texture to set just right. Whipped topping is my favorite part because it ties all the other layers together and turns every bite fluffy and light. We always let younger kids do the chocolate chip sprinkle at family parties which became a silly tradition.
Storage Tips
Store leftovers covered in the fridge for up to five days. For make ahead parties slice and layer with parchment so pieces stay intact during transport. If freezing wrap tightly in plastic then foil for best texture after thaw
Ingredient Substitutions
Swap Nutter Butter cookies with graham crackers or chocolate sandwich cookies for the crust. Dairy free whipped topping and plant based cream cheese sub in easily for an allergy friendly version. Almond butter is a great replacement if peanut allergies are a concern
Serving Suggestions
Cut into small squares for lunchboxes or larger bars for dessert buffets. Pair with extra roasted peanuts on top for a bigger crunch. If you want a lighter finish serve alongside fresh sliced strawberries which pair well with both chocolate and peanut butter
 Pin
Pin
Cultural and Historical Context
No bake desserts like this one have been popular in home kitchens since the 1980s when boxed pudding and whipped topping made layered sweets simple for everyday cooks. The flexibility and ease made them staples across potlucks church suppers and family reunions especially in the summer months
Recipe FAQs
- → What type of crust works best for this dessert?
Crushed graham crackers provide a neutral, classic base, while Nutter Butter cookies add a richer peanut flavor and a slightly salty-sweet crunch.
- → How can I achieve neat slices from the layered dessert?
Chill the dessert thoroughly, and for cleaner cuts, freeze it for about 20 minutes before slicing. Wiping a warm knife between cuts helps maintain smooth edges.
- → Can I customize the dessert toppings?
Absolutely! Try mini chocolate chips, chopped roasted peanuts, crushed pretzels for crunch, or even crumbled toffee bits to add different flavors and textures.
- → How long does this dessert stay fresh when stored?
Stored tightly wrapped in the fridge, it keeps its flavors and texture well for up to five days.
- → Is this dessert suitable for making ahead of time?
Yes, it can be prepared in advance and stored chilled, making it perfect for potlucks, parties, or busy days.
