
 Pin
Pin
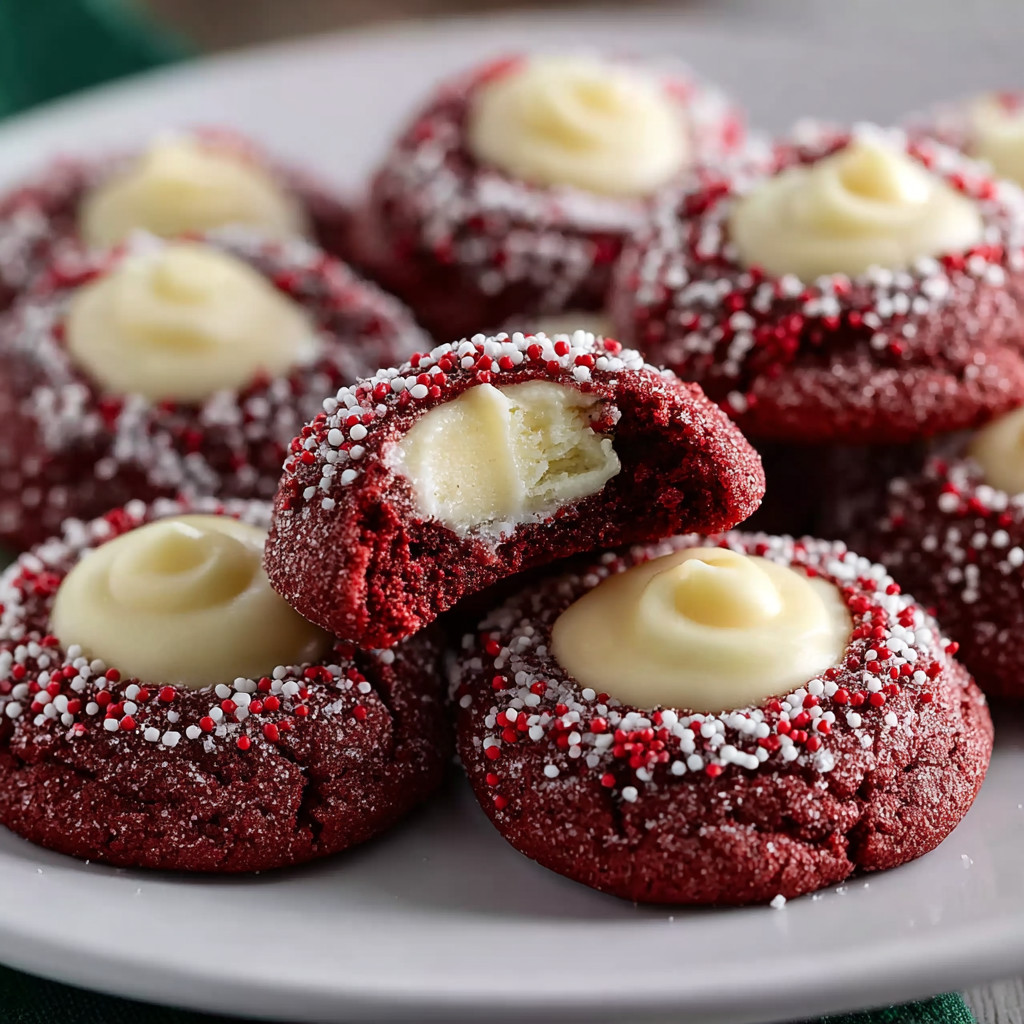
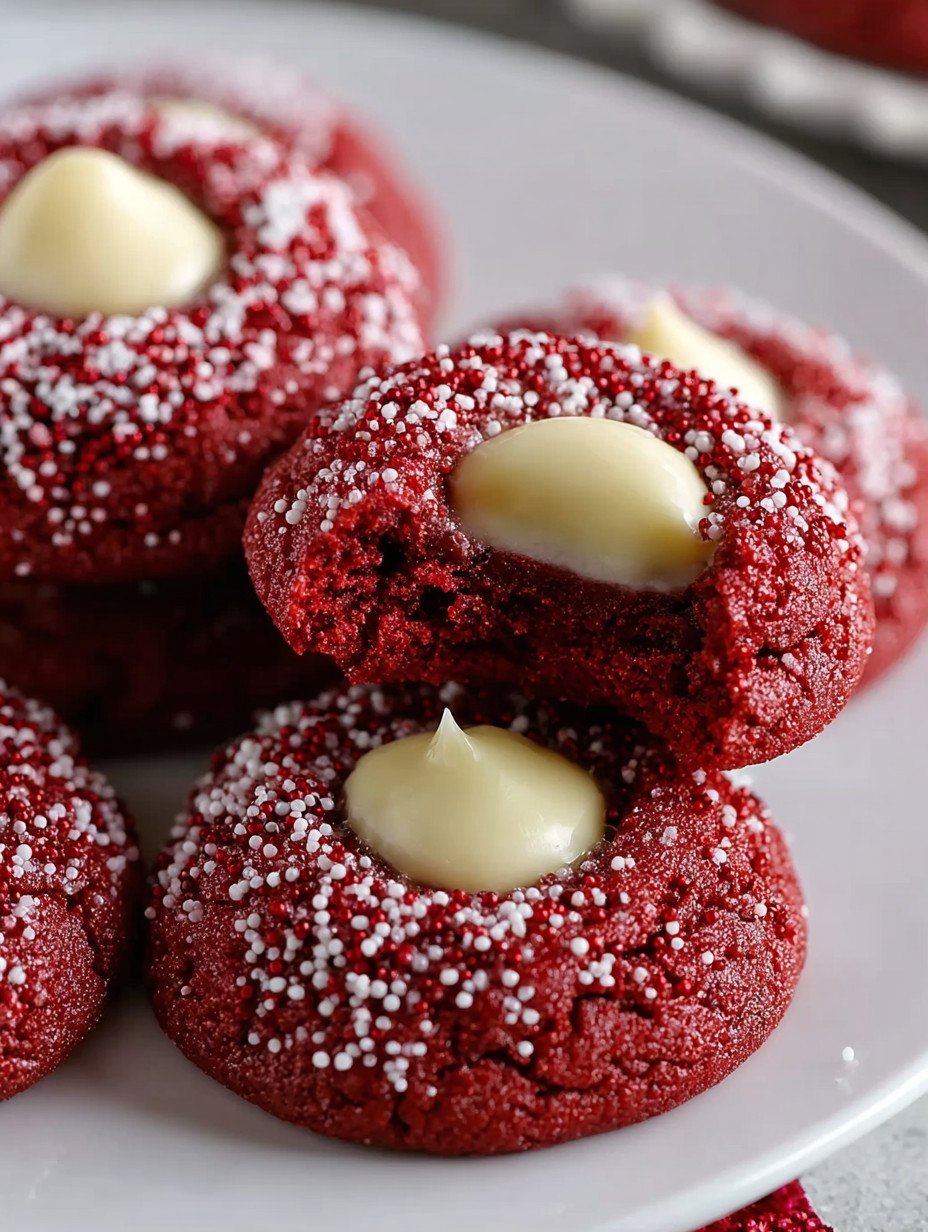
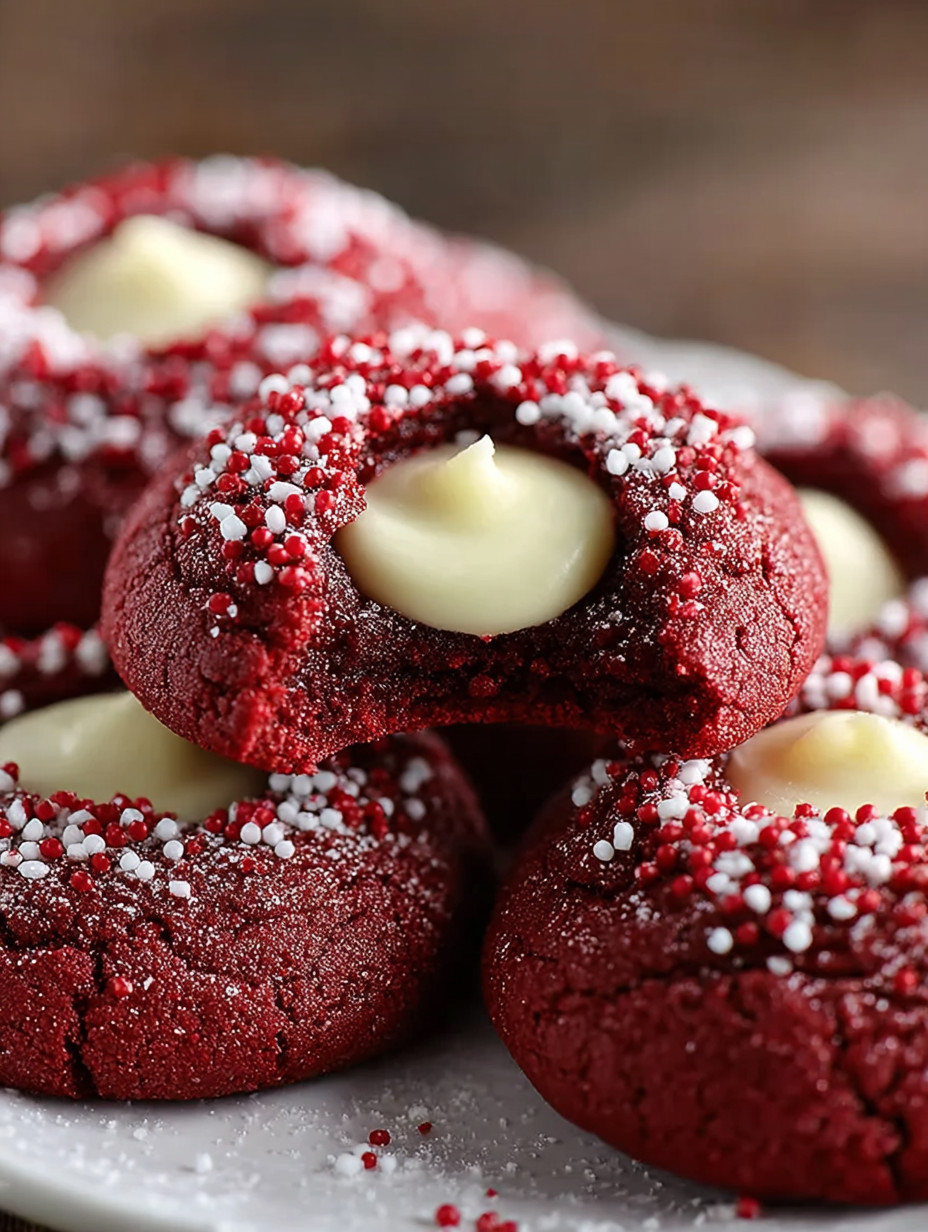
Let me share these showstopping red velvet thumbprint cookies that always steal the spotlight at holiday parties. Picture soft red velvet cookies with creamy cheesecake centers rolled in shimmering sugar. I perfected this after many batches and now my family begs for them every Christmas. That tangy cream cheese filling in the middle is pure bliss.
I discovered during recipe testing that the chill step is key for that perfect thick texture. My sister called these a new family tradition after one bite and now we never skip them at December gatherings.
Ingredients
- Soft unsalted butter: for rich flavor and tender texture look for high butterfat brands for best results
- Granulated sugar: makes the dough sweet and helps cookies spread just enough
- Egg at room temperature: binds the dough and keeps cookies soft fresher eggs help with lift
- Pure vanilla extract: brings depth use a good quality brand for best vanilla notes
- Red gel food coloring: gives a vibrant hue without watering down the dough always choose gel over liquid
- All purpose flour: keeps the cookies cakey and light pick a reliable brand for consistent results
- Unsweetened cocoa powder: creates that signature red velvet flavor natural or Dutch process both work
- Baking soda: for a tender crumb check the date for freshness
- Salt: enhances all the flavors and balances the sweetness
- Cream cheese: let it come to room temperature for a smooth filling richer cream cheese makes a creamier center
- Powdered sugar: sifted to ensure the filling stays silky and lump free
- Vanilla (for the filling): add a little extra vanilla to the filling for an extra layer of flavor
- Holiday sanding sugar: brings sparkle and crunch pick crisp colors for a festive look
Step-by-Step Instructions
- Make the Dough:
- Start by beating softened butter and sugar with a hand mixer until pale and fluffy about three minutes which develops a creamy base and helps cookies rise. Then add the egg vanilla and food coloring mix well until your dough turns a rich red color that is evenly distributed.
- Add Dry Ingredients:
- Sift flour cocoa baking soda and salt into a bowl to prevent any lumps then gently fold into the wet mixture until combined. Take care not to overmix or the cookies will be tough.
- Chill the Dough:
- Wrap the dough tightly in plastic and chill for at least thirty minutes so it firms up this makes shaping much easier and stops spreading in the oven.
- Prepare the Cream Cheese Filling:
- While your dough chills beat cream cheese powdered sugar and vanilla until completely smooth and creamy then cover and refrigerate to let it thicken slightly.
- Shape and Roll the Cookies:
- Scoop out dough portions roll each into balls then coat in holiday sugar by rolling them around to cover all sides. Gently press a thumb or teaspoon into the center to form the classic well.
- Bake to Perfection:
- Arrange cookies spaced apart on a lined baking sheet bake in a preheated oven at three hundred fifty degrees for about eleven minutes. Watch for set edges and slightly soft centers which means they stay tender inside.
- Fill the Thumbprints:
- Let cookies cool slightly before spooning or piping cream cheese filling into each well for the final touch of creamy decadence.
 Pin
Pin
My favorite part is swirling that cream cheese filling in each one and watching my kids sneak tastes before they even leave the rack. The joy on my family’s faces when these appear on the cookie tray means the holidays have officially started.
Storage Tips
Store finished cookies in an airtight container in the refrigerator for up to five days to keep the filling fresh. If you want to freeze prepare the cookies without the filling first layer them with parchment in a box. Thaw and add the cream cheese just before serving for best texture.
Ingredient Substitutions
If you run out of red gel food coloring use beet juice for natural color though the hue may be softer. For a chocolate boost add mini chocolate chips to the dough. Dairy free cream cheese works well for a lactose free version just pick a brand that tastes creamy.
Serving Suggestions
Serve these cookies on a holiday platter with other festive treats for a guaranteed crowd pleaser. They make gorgeous gift bags layered with parchment and a ribbon. Or try crumbling leftovers over vanilla ice cream for a special dessert.
 Pin
Pin
Cultural Context
Red velvet has southern roots and is known for its beautiful color and tangy cocoa flavor. By turning it into a thumbprint cookie and adding that cheesecake center you get a modern twist that brings new excitement to old fashioned holiday baking.
Recipe FAQs
- → Why is chilling the dough important?
Chilling firms the dough, making it easier to shape and helps keep the cookies from spreading too much during baking.
- → What kind of food coloring works best?
Gel food coloring produces the brightest, most vibrant red without altering dough consistency.
- → How do I prevent the thumbprints from puffing up?
If the centers puff during baking, gently press them again while warm to keep the indentations intact.
- → Can these cookies be made ahead of time?
Yes, you can prepare dough and filling in advance. Store unfilled dough or filled cookies in the fridge for freshness.
- → What’s the best way to store these treats?
Keep them refrigerated due to the creamy filling, and consume within a few days for best texture and flavor.
- → Any tips for variations?
Try dipping in white chocolate, adding peppermint extract, or rolling in chopped nuts to customize flavors.