
 Pin
Pin
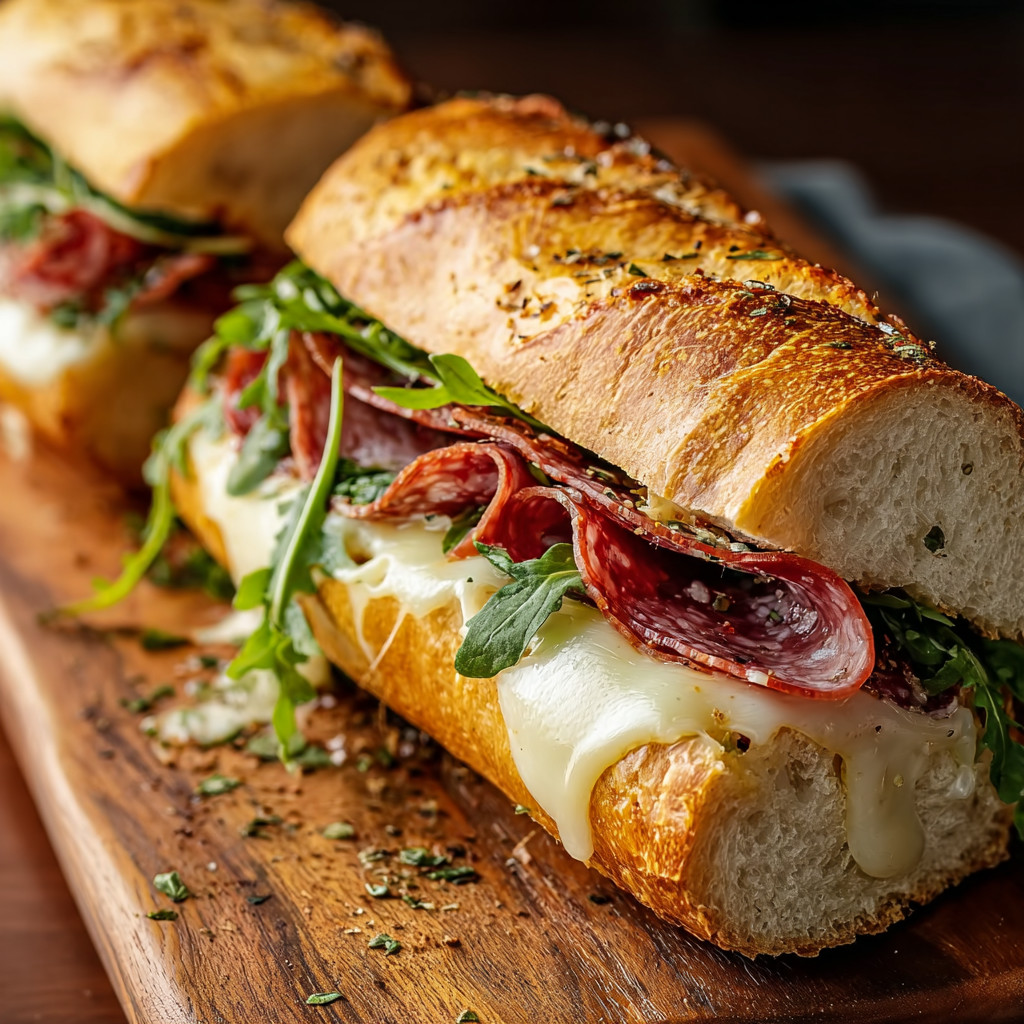
Baked Italian sub sandwiches turn the classic cold sandwich into a warm, melty, and golden creation that brings together layers of deli meats, cheese, and tangy peppers for a satisfying and comforting meal. They are perfect for busy weeknights or casual gatherings, offering a balance of rich flavors and crispy textures in under 35 minutes.
I first made these for a movie night when I wanted to use up some deli meats. The warm aromas drew everyone to the kitchen before they were even finished baking. Now these sandwiches are a favorite for social gatherings and have become a regular request from friends. The way the cheese melts perfectly and the bread crisps just right is irresistible.
Ingredients
- Fresh hoagie rolls: Soft yet sturdy rolls with a slightly crisp crust are best to hold the fillings without falling apart
- Quality deli ham: Picked from the service counter for a fresh flavor and tender texture
- Genoa salami: Adds that classic spicy, salty bite that defines traditional Italian subs
- Roast beef: Brings a rich, meaty depth, cooked ground beef is a budget-friendly substitute
- Optional pepperoni: Provides bold flavor and crispy edges when baked for extra texture
- Provolone or mozzarella: Cheeses that melt beautifully to create creamy, stretchy layers
- Pickled banana peppers: Offer tangy brightness that cuts through the richness of meats and cheese
- Sautéed onions: Optional but add mellow sweetness when cooked slowly until golden
- Italian seasoning blend: Dried herbs that add aromatic complexity and enhance the overall flavor
- Real butter: Used to brush over the tops creating a golden, crispy finish and rich taste
Step-by-Step Instructions
- Roll Preparation:
- Carefully open the hoagie rolls along their natural hinge without slicing all the way through. This keeps the sandwich intact while providing enough room for filling. The method helps the fillings stay contained and allows easy eating.
- Meat Layering:
- Evenly arrange slices of ham, salami, and roast beef inside each roll so every bite has a balanced flavor. If using pepperoni, tuck pieces evenly among the other meats to maintain seasoning consistency throughout.
- Cheese and Vegetable Addition:
- Layer slices of provolone or mozzarella over the meat, ensuring full coverage to prevent drying during baking. Add banana peppers and sautéed onions on top, pressing gently so they settle into the layers and stay in place during baking.
- Seasoning and Butter Application:
- Close the rolls gently and place them on a parchment-lined baking sheet to make cleanup easier. Brush melted butter evenly over the tops, extending to the edges for consistent browning. Sprinkle Italian seasoning over the butter to add extra aroma and flavor.
- Covered Baking Phase:
- Cover the sandwiches loosely with foil and bake in a preheated 375-degree oven for about twelve minutes. The foil traps steam which helps melt the cheese thoroughly and heats all ingredients evenly.
- Uncovered Finishing:
- Remove the foil and continue baking for three more minutes to crisp the tops and develop a beautiful golden color. This step gives the sandwiches their signature visually appealing and texturally satisfying finish.
- Serving Preparation:
- Use a spatula to carefully transfer the hot subs to plates, keeping the cheese molten and gooey. Serve immediately for the best flavor and texture experience.
 Pin
Pin
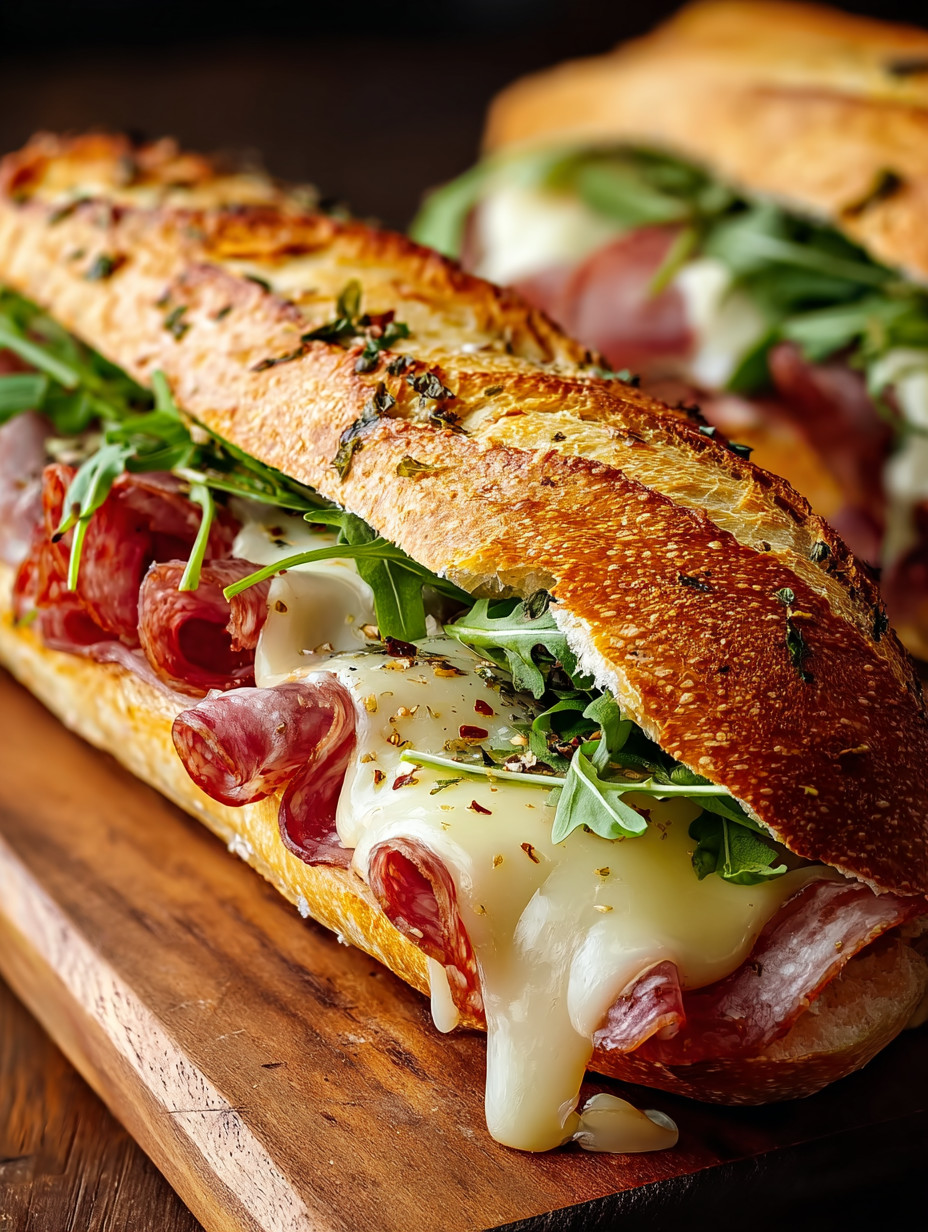
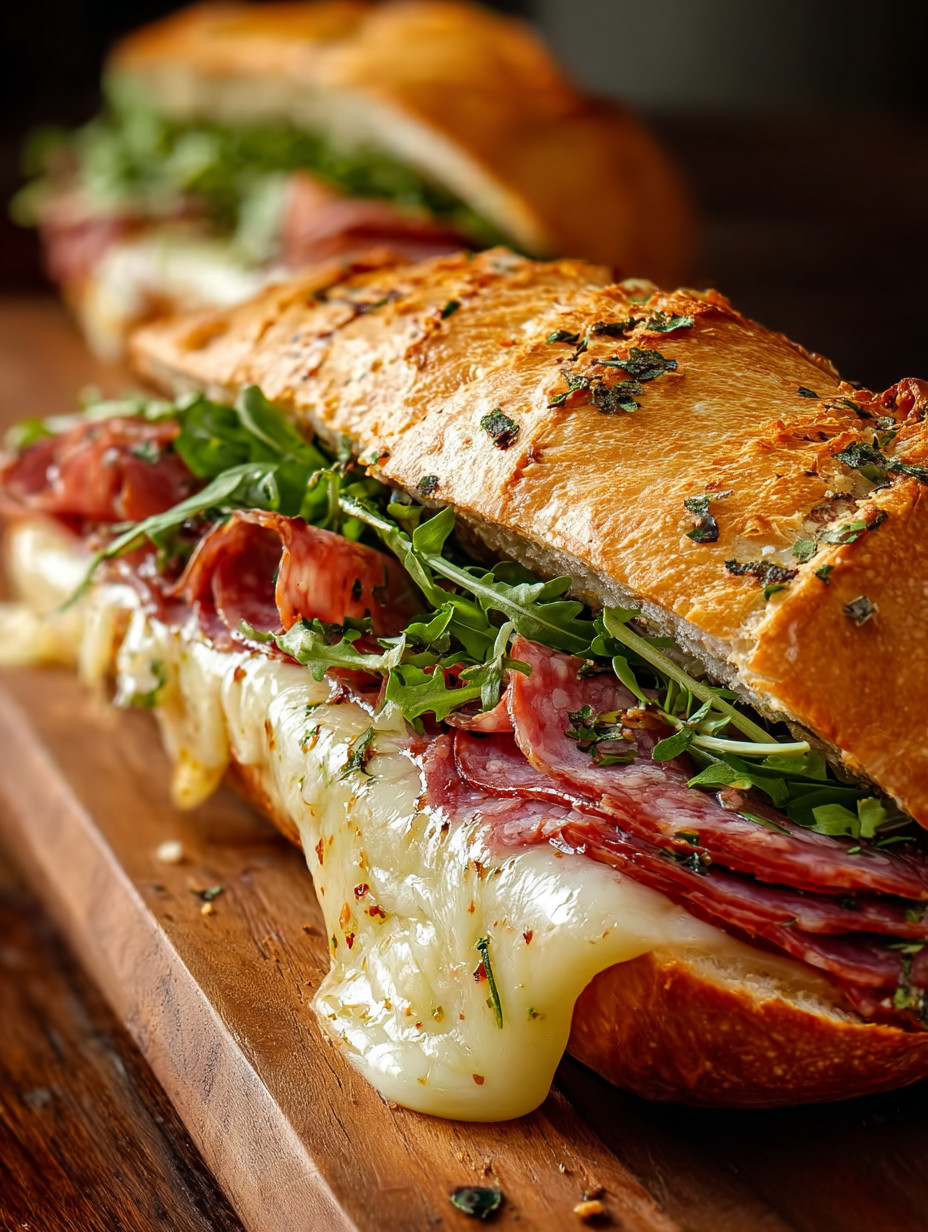
One of my favorite parts of the sandwich is the pickled banana peppers. They add a bright, tangy pop that balances the richness and gives the sandwich lively flavor. Making these sandwiches always reminds me of the laughter and chatter around the kitchen when everyone gathers for this easy, comforting meal.
Storage tips
Wrap leftovers tightly in foil and refrigerate for up to three days. Warm them in a low oven wrapped loosely in foil to keep the bread from becoming soggy and preserve melted cheese texture. Avoid reheating in the microwave which often ruins the sandwich’s crispy qualities. For make-ahead convenience, assemble fully and freeze before baking to enjoy later.
Ingredient substitutions
Feel free to swap the meats for turkey, prosciutto, capicola, or mortadella to suit your preferences or what’s available. Cheese can be changed to Swiss or sharp cheddar for different flavors. Add fresh or roasted vegetables like tomatoes or red peppers depending on the season to bring new taste and texture dimensions.
Serving suggestions
Pair the sandwiches with classic potato chips and crunchy dill pickles for a traditional deli vibe. A bright vinaigrette salad lightens the meal with fresh flavors. For a heartier dinner, a bowl of tomato soup or crispy roasted potatoes alongside completes the comforting experience.
 Pin
Pin
Cultural context
Italian subs are a staple in American deli culture originating from Italian immigrant communities. They celebrate simple yet bold ingredients layered artfully to create something both filling and flavorful. This baked variation adds warmth and gooey texture elevating a classic cold sandwich into a cozy meal enjoyed nationwide.
Recipe FAQs
- → Can I use different deli meats?
Yes, you can swap or mix with turkey, prosciutto, capicola, or mortadella to personalize the flavor profile.
- → What if I don't have hinged hoagie rolls?
Regular sub rolls will work; just avoid slicing all the way through to keep fillings secure.
- → Can these be made ahead of time?
You can assemble a few hours in advance and refrigerate, but baking fresh ensures optimal melt and crust.
- → How do I avoid soggy bread?
Layer ingredients evenly, bake uncovered at the end to crisp up the tops, and avoid overloading wet fillings.
- → What are good side dishes to serve with these subs?
Classic sides include potato chips, pickles, olives, coleslaw, or a fresh Italian salad with tomatoes and mozzarella.