
 Pin
Pin
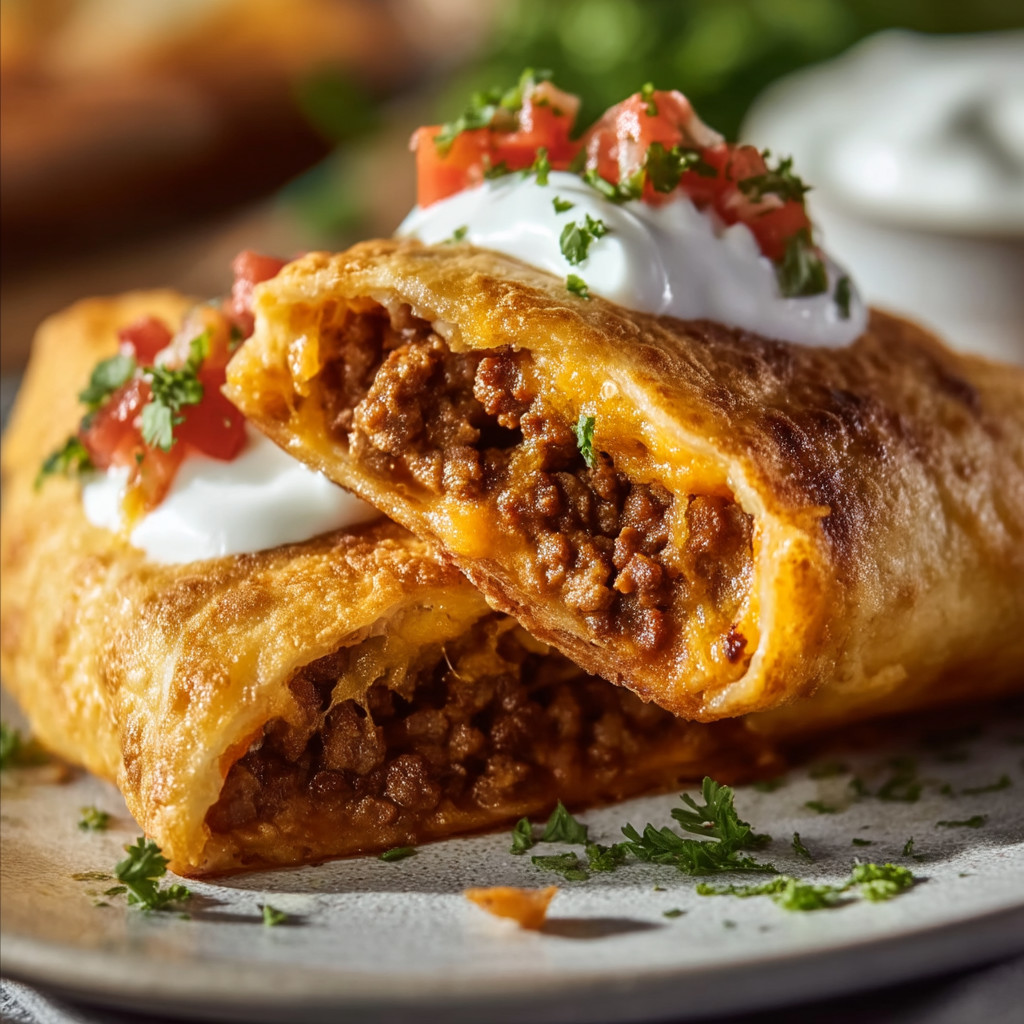
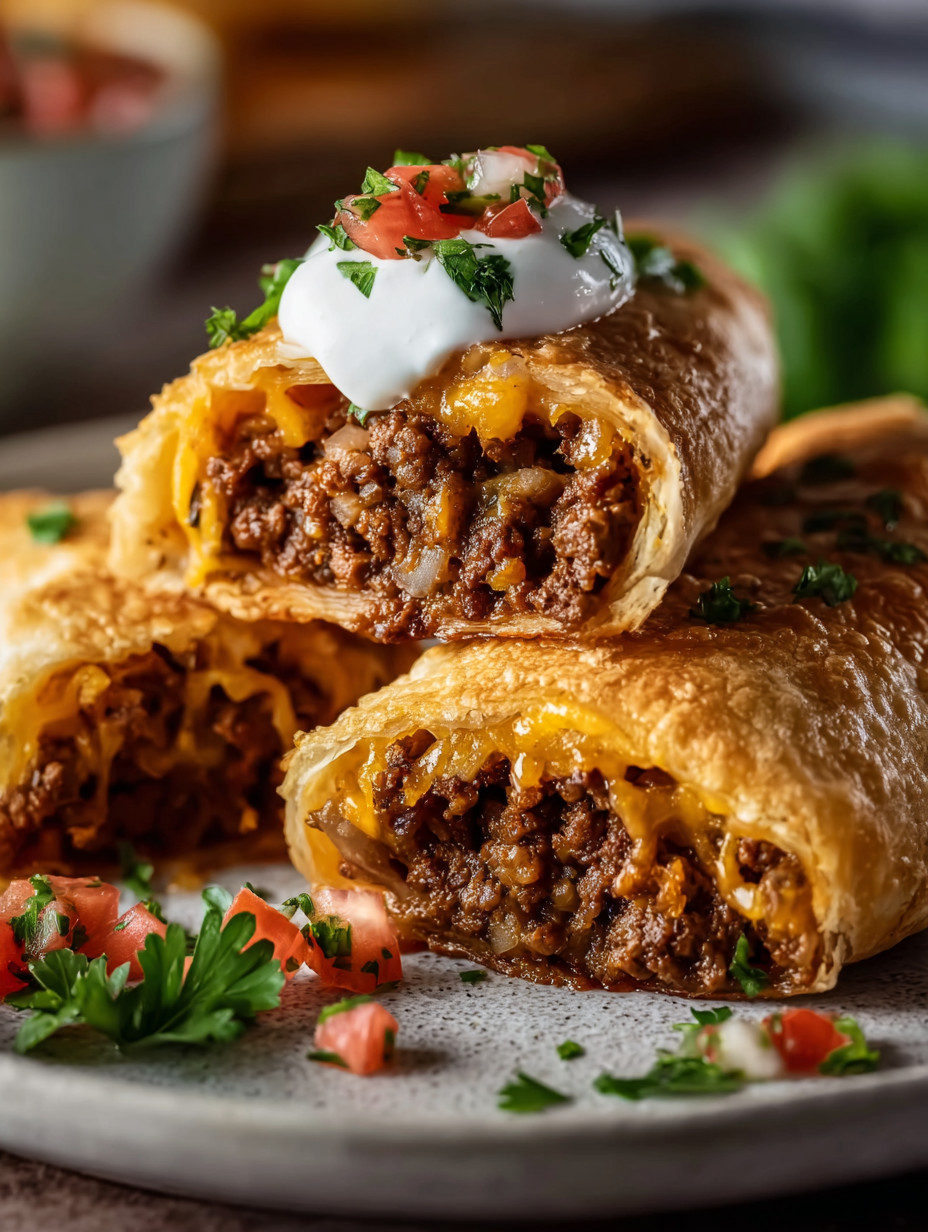
When you want to serve something that’s hearty, cheesy, and fun to eat, these Beef Meximelt Cheesy Taco bombs check every box. A savory beef and cheese mixture is snuggled inside soft, golden dough and finished with a garlicky, Parmesan crust. Whether you’re hosting friends, planning a family dinner, or looking to impress at a potluck, this recipe delivers comfort food magic every time.
The first time I set out a tray during game night, the plate emptied before halftime. Now, my family practically begs for them every time friends drop by. They are that popular.
Ingredients
- Ground beef: for a rich savory filling with classic taco flavor. Choose eighty to eighty five percent lean for best flavor and juiciness
- Salt, pepper, garlic powder, and onion powder: these add deep layers of flavor to the beef. Use real garlic and fresh pepper for extra punch
- Worcestershire sauce: adds umami and depth. Choose a brand with low sugar so the flavors shine
- Shredded cheddar or mozzarella cheese: delivers the gooey pull. Grating cheese fresh from a block means a creamier melt
- Optional extras: like crispy bacon, pickles, or caramelized onions give more texture and flavor layers
- Refrigerated biscuit dough or pizza dough: wraps the filling in a pillowy shell. Pizza dough is chewier while biscuit dough is tender and soft
- Butter, melted: coats the tops for golden richness. Use real butter for the best flavor and crunch
- Minced garlic or garlic powder: mixed into the butter fills your kitchen with savory aroma and flavor
- Parmesan cheese, freshly grated: makes the tops extra nutty and crisp. Never use powdered cheese for this step
- Chopped fresh parsley, optional: gives color and a touch of freshness
Step-by-Step Instructions
- Prepare the Filling:
- Brown ground beef in a large skillet over medium heat until it is deep golden and fully cooked with no pink left. Drain away excess fat so the filling does not make the dough soggy. Season well with salt, pepper, garlic powder, and onion powder, then stir in a splash of Worcestershire sauce. Let this mixture cool down to room temperature so the cheese does not melt too soon. Stir cheese into the cooled beef so it sticks together.
- Shape and Fill:
- Flatten pieces of refrigerated dough into rough circles about four inches across with your hands. Place one to two tablespoons of the beef and cheese mixture in the center of each circle. Gather the edges up and pinch tightly at the top so the filling is sealed in. Roll between your hands so the bombs are smooth and round.
- Arrange and Top:
- Place the dough balls seam side down on a parchment lined baking sheet. Make sure they do not touch so air can circulate. Combine melted butter with minced garlic. Brush the tops and sides of each dough bomb with the garlic butter. Top each with grated Parmesan cheese so you get a crisp finish.
- Bake:
- Heat your oven to three hundred seventy five degrees Fahrenheit. Place the baking sheet on the center rack and bake for fifteen to eighteen minutes. The tops should be richly golden and the dough should spring back if gently pressed.
- Finish and Serve:
- While still hot from the oven, brush the bombs again with any leftover garlic butter. Sprinkle with chopped fresh parsley if you like. Let them cool just long enough to handle, then serve warm with your favorite dips.
 Pin
Pin
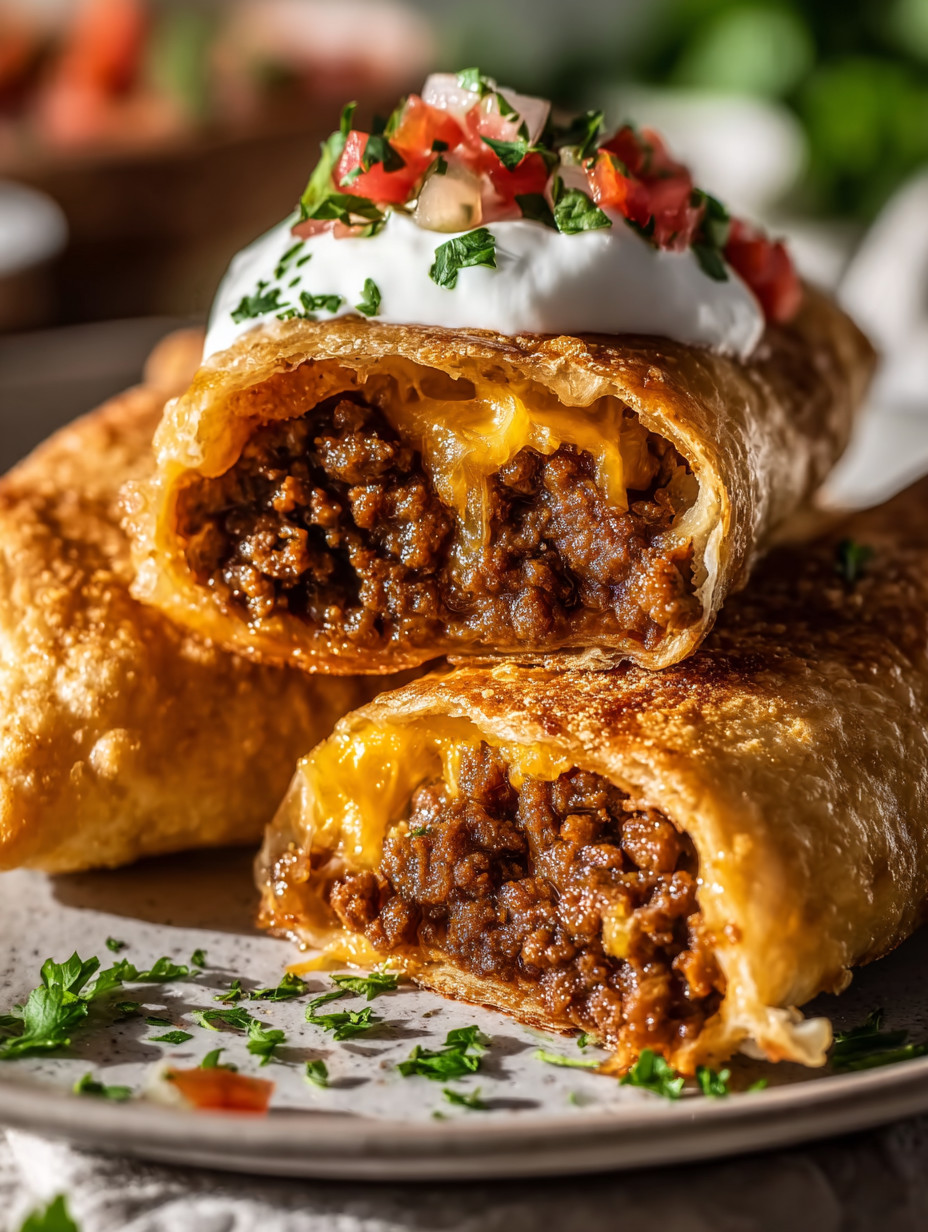
The moment you break open one of these golden bombs and see the cheese stretching out, you know you have something special. I always think of my grandma finishing her breads with a hot brush of butter and the way that aroma brings everyone running to the kitchen.
Storage Tips
After baking, let any leftovers cool completely before storing. For short term, keep them in an airtight container in the fridge and enjoy within three days. For longer storage, freeze uncooked or baked bombs on a tray and then transfer to a freezer safe bag. Reheat straight from the fridge or freezer in a three hundred fifty degree oven or air fryer for about eight minutes until hot and crisp.
Ingredient Substitutions
You can use ground turkey or ground chicken instead of beef for a lighter version. Any soft dough like homemade pizza dough or even crescent roll dough works as the wrap. Swap in Monterey Jack, pepper jack, or Colby for more flavor. Vegetarian friends will love sautéed mushrooms and black beans in place of the beef.
Serving Suggestions
Offer a platter with creamy dips like ranch, garlic aioli, or spicy mayo for dunking. Scatter sliced jalapenos, fresh cilantro, or lime wedges nearby so each person can add their own twist. Change up the filling for breakfast by adding eggs, cooked sausage, or even hash browns.
 Pin
Pin
Cultural and Historical Context
Inspired by the classic Meximelt from Taco Bell, these dough bombs nod to beloved fast food but take it up a notch for homemade gatherings. Wrapping the cheesy beef in a soft dough shell with buttery crunch makes them more substantial and shareable—a new tradition that always means comfort and fun in my house.
This recipe has won over pickiest eaters and seasoned cooks alike. So make extra—because they will disappear before you know it.
Recipe FAQs
- → How do I prevent the filling from leaking?
Make sure the beef and cheese mixture is completely cooled before sealing within the dough. Pinch the edges firmly to ensure a tight seal.
- → Can these be made ahead of time?
Yes, you can assemble the filled dough balls in advance and bake them fresh later to maintain optimal texture and flavor.
- → Which cheeses work best for meltiness?
Cheddar and mozzarella are great choices for their creamy melt and stretch, but feel free to use other melty cheeses as preferred.
- → What’s the best method to reheat leftovers?
Reheat them in an oven or air fryer at moderate temperature to restore the crisp exterior without drying out the filling.
- → What dipping sauces complement these bites?
Creamy options like ranch, garlic aioli, or spicy mayo enhance the savory, cheesy flavors beautifully.
- → Can I customize the filling?
Absolutely! Add jalapeños for heat, swap beef for sausage, or try scrambled eggs for a breakfast version.