
 Pin
Pin
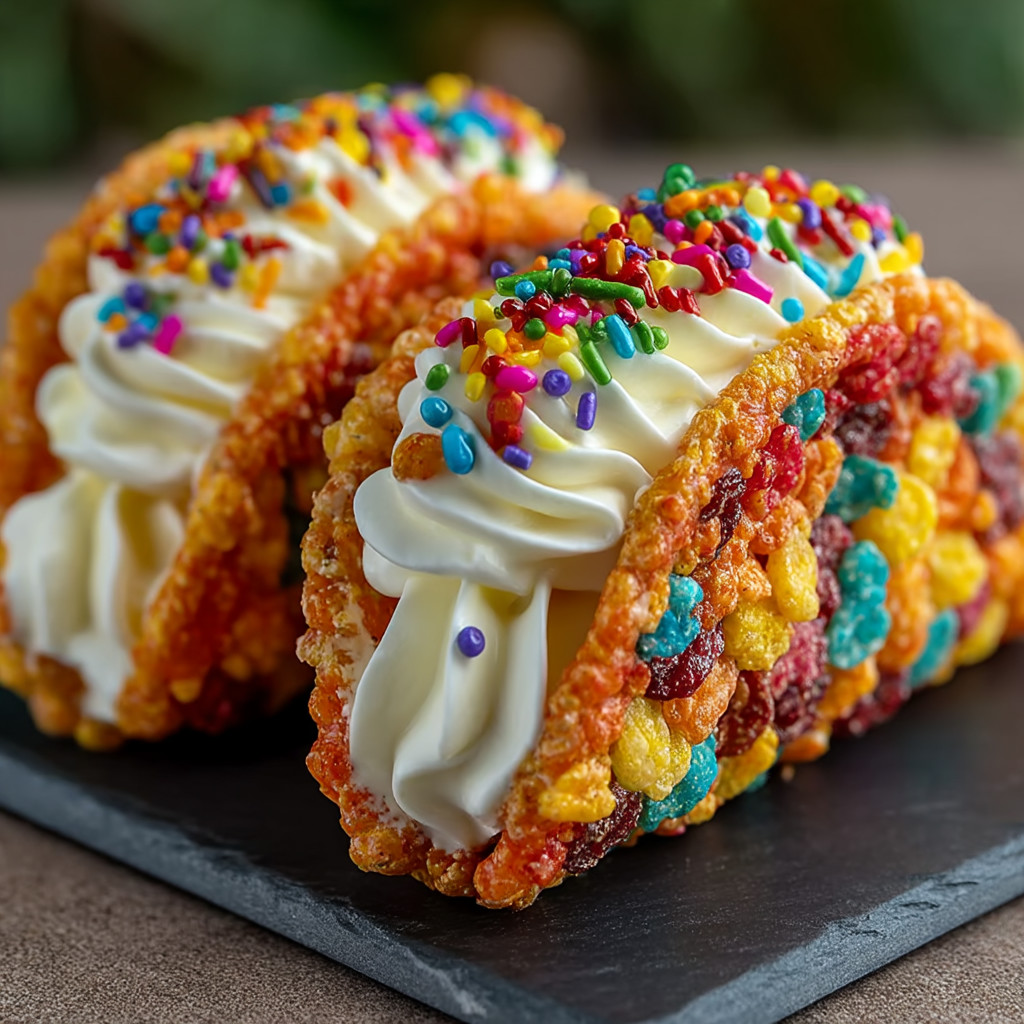
This playful Fruity Pebbles Cheesecake Taco recipe is my guaranteed way to spark joy at any party or family gathering. Creamy cheesecake filling meets crispy, colorful cereal shells in a dessert that delights kids and wows grownups alike.
I whipped these up for my nieces on a rainy day and it instantly became our favorite baking project. Every time I make them now I remember the pure excitement as they bit into those crunchy, creamy tacos at the kitchen table.
Ingredients
- Three cups fruity cereal: select brands with the brightest colors and freshest crunch for the most appealing shells
- Half cup unsalted butter: melted, real butter gives the richest flavor and best hold
- Eight ounces cream cheese: softened, choose full fat for extra creamy cheesecake filling
- Half cup powdered sugar: sifted, sifting ensures no lumps in your sweet filling
- One teaspoon pure vanilla extract: for the most flavor, always go for real vanilla
- One cup whipped cream: provides lightness and a fluffy texture
- Extra fruity cereal: for an irresistible garnish and more color on top
How To Make Fruity Pebbles Cheesecake Tacos
- Prepare the Crunchy Shell:
- Mix fruity cereal with melted butter in a large bowl, making sure every piece is glossy and coated. The even coating is what keeps your shell from crumbling later. Work slowly to let the butter soak in without making the colors run.
- Shape Your Shells:
- Press the buttery cereal mix firmly into taco-shaped molds or use the curved sides of a muffin pan. Shape with fingers or the back of a spoon, aiming for even thickness. Chill for at least thirty minutes until shells feel stiff to the touch with no give.
- Whisk Up the Cheesecake Filling:
- Beat cream cheese using an electric mixer for two minutes until every bit is creamy and there are no lumps. Gradually add powdered sugar and vanilla, whisking continuously. Scrape the sides of the bowl to catch every spot so your filling is perfectly smooth and glossy.
- Add Airiness:
- Gently fold in whipped cream with a spatula. Start from the bottom and scoop upward in a circular motion. Take care not to deflate the whipped cream so every bite stays light and soft.
- Assemble the Bites:
- When shells are cold and set, spoon or pipe the cheesecake filling generously inside, filling each one so it mounds slightly above the edge for a showy finish.
- Garnish and Serve:
- Sprinkle on more fruity cereal to finish. Press the pieces in gently so they stay put. Serve right away for maximum crunch or store in the fridge for up to two hours before your event.
 Pin
Pin
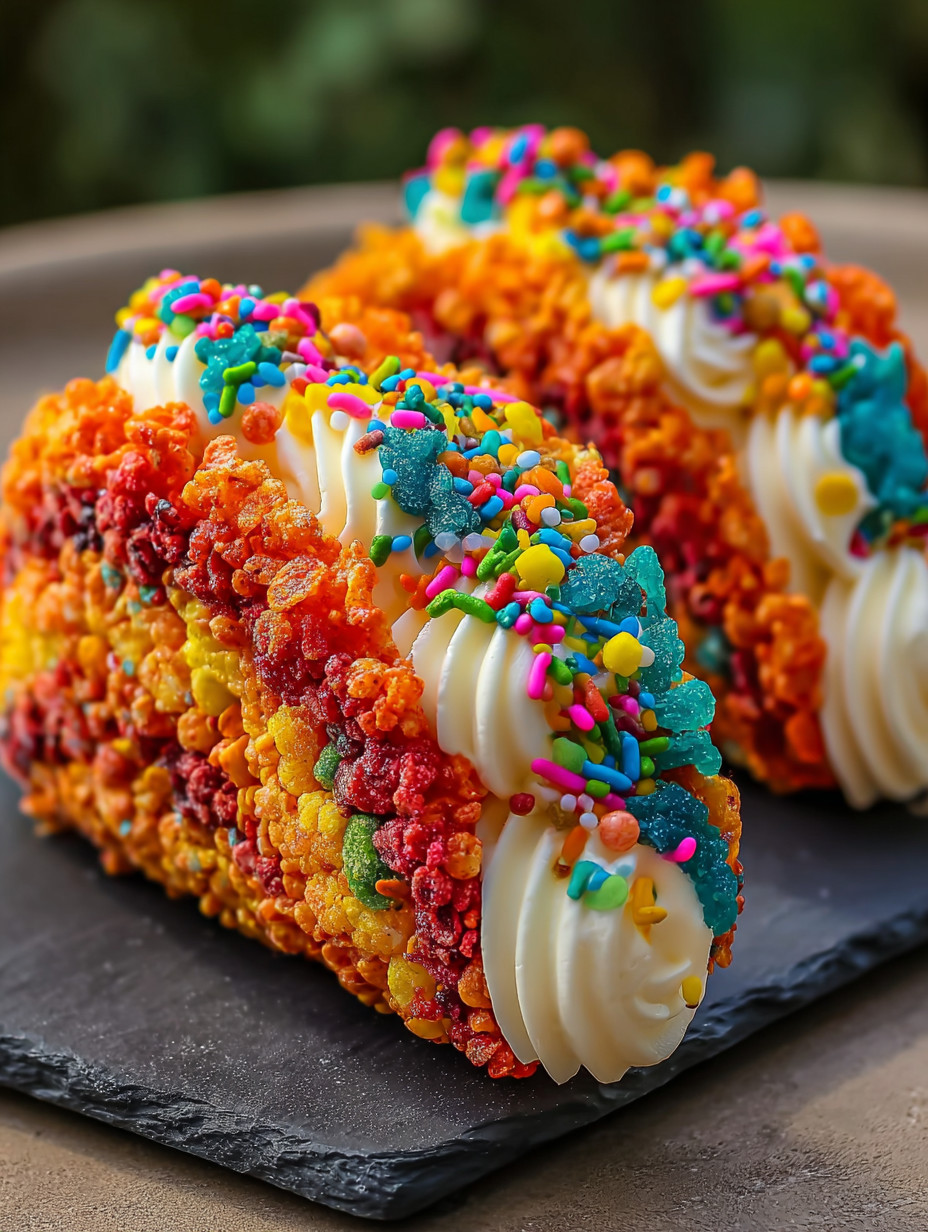
My favorite moment is when the cereal transforms into magic little taco shells. It brings back memories of my grandmother reminding me that desserts should feel playful and have texture. The way these come together always makes me smile.
Make Ahead Options
These taste best on the day you make them but you can prep components separately. The shells stay crisp for up to two days in an airtight tin. Keep the filling covered in the fridge up to one day. Always fill and garnish just before serving so the shells stay crunchy and the cream stays fluffy, which is the secret to their wow factor.
Variation Ideas
This recipe is wide open for fun twists. Swap in cocoa flavored cereal for a chocolate spin or use cinnamon spiced cereal for a holiday vibe. Add a dash of orange liqueur to the filling for a grown-up touch, or play with colors for every season—think red and green at winter holidays or pastels for spring. My nieces love making these changes just to see what wild creations we can dream up.
 Pin
Pin
Serving Suggestions
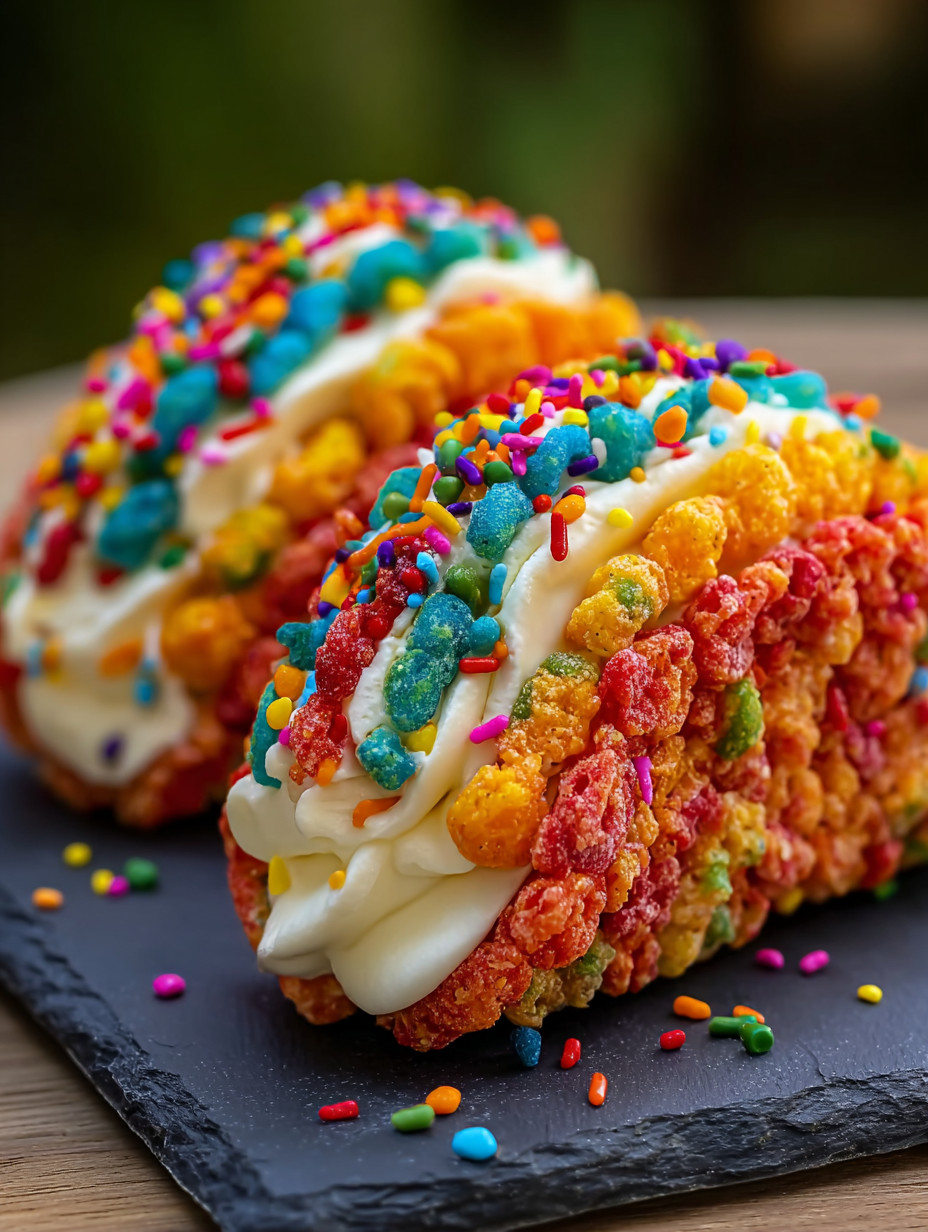
Pile these tacos on a big white platter for a show-stopping centerpiece. For parties, create a build-your-own taco bar by setting out shells, filling, and toppings separately so everyone can make their own creation. These are great slipped into cupcake liners for parties, or offer as a sweet surprise at the end of a taco night.
Recipe FAQs
- → How do I shape the cereal shells?
Press the buttery cereal mixture firmly into taco-shaped molds or curved muffin tin sections. Chill for at least 30 minutes to allow them to set and hold shape.
- → Can I use any fruity cereal brand?
Yes, any colorful fruity cereal works well to create vibrant and crunchy shells for these treats.
- → What is the key to a light, airy filling?
Gently fold whipped cream into the cream cheese mixture using a spatula, avoiding overmixing to keep it fluffy.
- → Can these be made in advance?
Yes, shells can be prepared up to two days ahead, and the filling can be refrigerated for 24 hours. Assemble no more than 4 hours before serving for best results.
- → How should I serve these colorful tacos?
Serve immediately after garnishing with extra cereal for crunch or chill them for a firmer texture. They are perfect as individual bites or part of a dessert display.
- → Any tips for extra stability outdoors?
Place assembled tacos in the freezer for 10 minutes before serving to help maintain their shape at outdoor events.