
 Pin
Pin
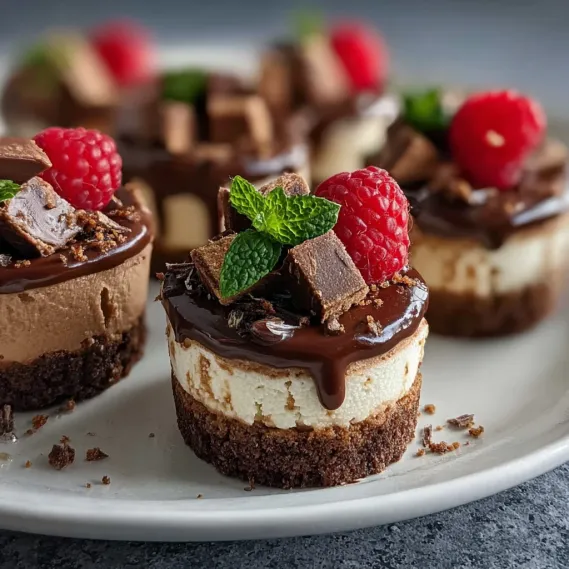
Mini Chocolate Cheesecake Bites are my secret weapon for effortless entertaining and a guaranteed hit at gatherings. These bite-sized treats pack all the indulgence of classic cheesecake with a luscious chocolate twist. Their petite size makes them just right for parties when you want to offer something elegant and easy to grab—no need for forks and plates. They also double as a lovely homemade gift or a sweet way to elevate an afternoon coffee break.
I fell in love with these mini cheesecakes at a family holiday party. The table went quiet the moment they were served and I have kept the tradition ever since. Portable treats like these never last long in my house
Ingredients
- Chocolate cookie crumbs: The base for a flavorful crust Go for crisp cookies for the best texture
- Unsalted butter: Brings everything together and adds richness Use fresh butter for the cleanest taste
- Full-fat cream cheese: Provides ultra creamy texture Let it soften fully for a smooth result
- Granulated sugar: Sweetens and balances the tang of the cream cheese Choose fine sugar so it blends easily
- Unsweetened cocoa powder: Deepens the chocolate flavor Opt for a Dutch-process type if you want a really bold color and taste
- Sour cream: Adds just the right amount of tang for a balanced filling Use full-fat for best texture
- Vanilla extract: Enhances all the chocolate notes Try real vanilla for the most aromatic flavor
- Large eggs: Bind the filling and give it the right consistency Use room temperature eggs so the batter combines evenly
- Semi-sweet chocolate: Offers a smooth decadent taste for both the filling and the ganache Pick a quality bar or chips for melting
- Heavy cream: Makes the ganache silky and whips up for a perfect topping Always use cold cream for best results
- Powdered sugar: Sweetens the cocoa whipped cream and keeps it light Sift it if it looks clumpy
Step-by-Step Instructions
- Prepare the Crust:
- Combine chocolate cookie crumbs and melted butter in a mixing bowl Stir well until the crumbs are fully coated and the mixture looks like damp sand Line a mini muffin tin with paper liners Spoon about a teaspoon of the crumbs into each cup Press flat using the back of a spoon to form a compact bottom Bake at 325F for 5 minutes to set the crust then let cool
- Make the Chocolate Cheesecake Filling:
- Use an electric mixer on low speed to beat the softened cream cheese until creamy and smooth Gradually add granulated sugar and unsweetened cocoa powder blending until no lumps remain Beat in sour cream and vanilla extract until well mixed Add eggs one at a time mixing on low until each is just incorporated Overmixing can cause cracks so mix only until combined Stir in melted semi-sweet chocolate for a glossy chocolatey filling
- Fill and Bake:
- Spoon the cheesecake filling into each lined cup filling to about three quarters full Bake the cheesecakes at 300F for 15 minutes Do not open the oven door Turn the oven off and let the cheesecakes sit for ten minutes without opening the door After ten minutes crack the oven door and let them rest inside for fifteen more minutes Remove and cool completely on a wire rack before moving to the refrigerator
- Chill and Ganache:
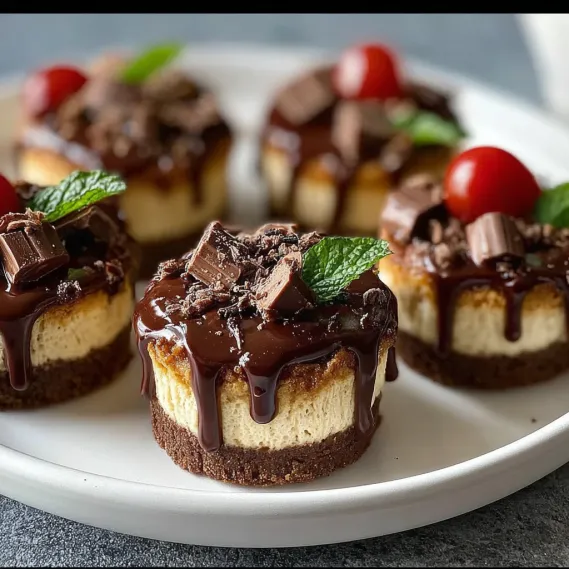
- After the cheesecakes are fully cooled refridgerate for at least two hours For the ganache gently heat the heavy cream in a small saucepan until hot Pour over the semi-sweet chocolate chips in a heatproof bowl Let sit for a few minutes then stir until silky and smooth Spoon a layer of ganache over each cheesecake bite and return to the fridge so it firms
- Whip and Decorate:
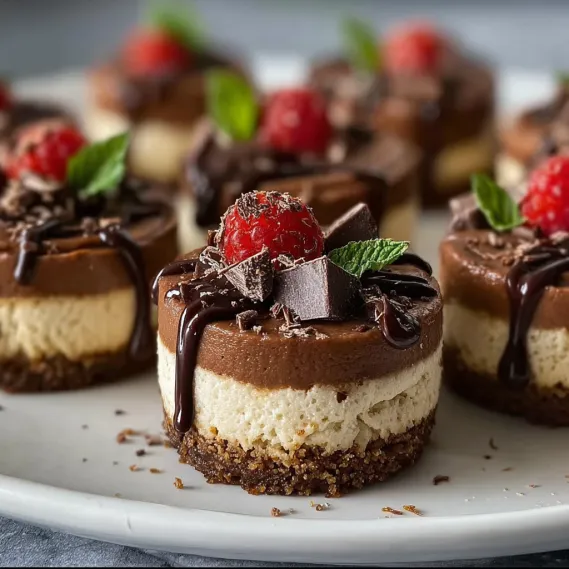
- In a cold mixing bowl combine the heavy cream powdered sugar cocoa powder and vanilla Using a hand mixer whip the cream until soft peaks form Continue beating until stiff peaks appear Pipe or spoon a swirl of cocoa whipped cream onto each cheesecake bite for a beautiful finishing touch
 Pin
Pin
One of my favorite parts is swirling the cocoa whipped cream on top It always reminds me of making snow peaks with my son as he sneaks a taste from the bowl Watching family members try to decide if they want one more is half the fun of serving these tiny treats
Storage Tips
Chilled cheesecakes keep best in a sealed container Store undecorated cheesecakes in the freezer up to one month Once topped with ganache and whipped cream refrigerate and eat within four days for best flavor and texture
Ingredient Substitutions
No chocolate cookies Use graham crackers plus a bit more cocoa powder For a lighter twist swap sour cream with plain Greek yogurt and choose milk chocolate if you do not want bittersweet richness
Serving Suggestions
Pile the cheesecakes on a tiered tray for a party Scatter fresh raspberries or mint leaves on top for color I love bringing these to potlucks because they always disappear first
 Pin
Pin
Cultural Inspiration
Chocolate cheesecake has roots in American and European baking traditions Bitesize desserts became a trend because they let everyone sample different treats in one sitting and they make celebrations feel a little more special
Recipe FAQs
- → How do you achieve a smooth cheesecake texture?
Soften cream cheese fully and use low-speed mixing to minimize air bubbles. Avoid overmixing, especially when adding eggs, for a velvety texture.
- → Can you freeze these chocolate bites?
Yes, freeze them without ganache or whipped cream. Wrap tightly and store for up to two months, then thaw and add toppings before serving.
- → What's the key to preventing cracks?
Slow cooling is essential. After baking, leave in the turned-off oven, then gradually let them adjust to room temperature before chilling.
- → How can these be decorated for special occasions?
Top with piped cocoa whipped cream, chocolate shavings, or fresh berries for a touch of color and elegance suited to any event.
- → What alternatives can be used for the crust?
Graham crackers or vanilla cookies also work well in place of chocolate cookies, letting you tailor the base flavors.
- → How long do they stay fresh in the fridge?
Store in a sealed container for up to four days. Keep toppings and garnishes fresh by adding them just before serving if possible.