
 Pin
Pin
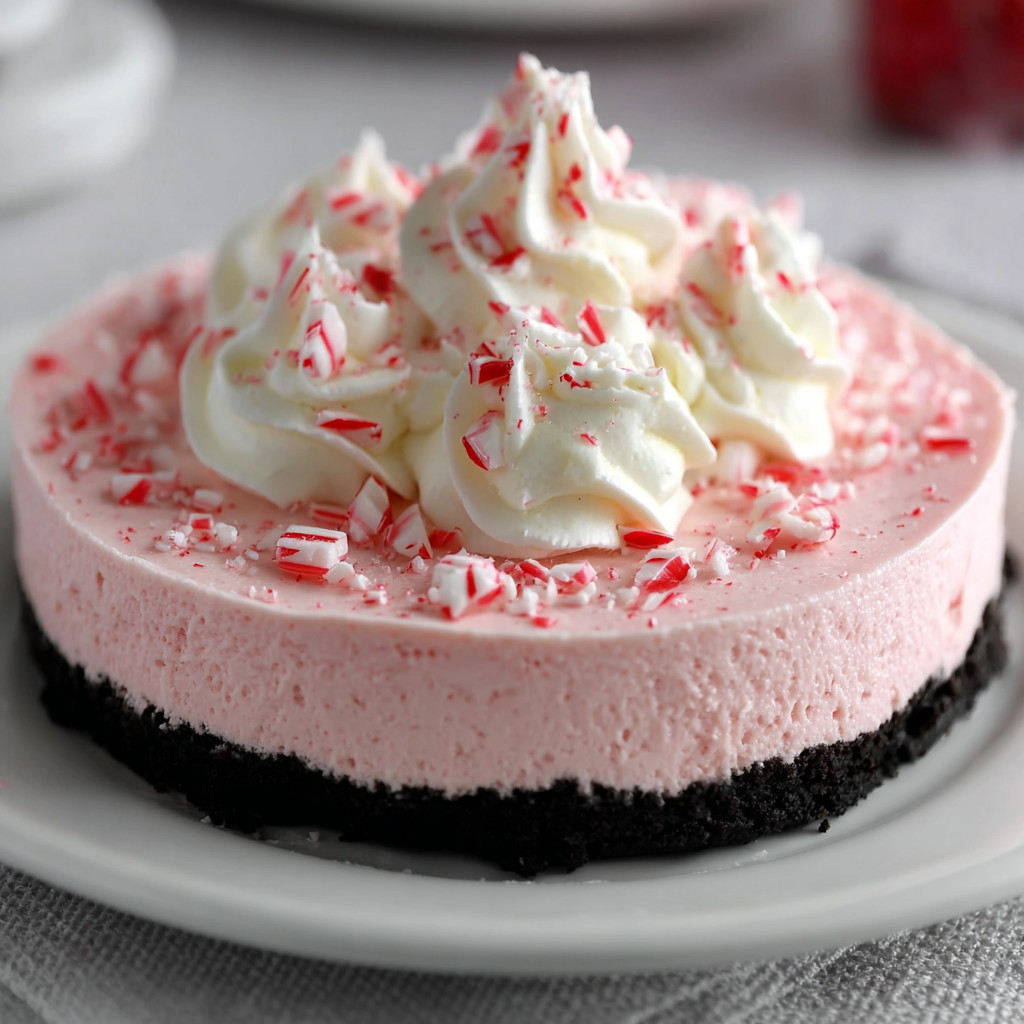
This no bake peppermint cheesecake is creamy dreamy and full of refreshing mint that always draws rave reviews during the holidays. The cool peppermint filling and rich Oreo crust make it my go to treat when I want something festive but stress free. When I first tried this for a December party my family devoured it and asked for it at every winter gathering since.
I have made this cheesecake on busy winter nights when baking sounded overwhelming. It is a lifesaver when you need a dessert that looks impressive and tastes even better.
Ingredients
- Oreo cookies 22 cookies: Crushed cookies make the best base with chocolate flavor and sturdy texture Choose classic Oreos for the right taste
- Melted butter 3 tablespoons: Blends with cookies to create perfect binding and rich flavor Use real butter for best results
- Sugar 1 tablespoon: A touch in the crust helps sweetness and improves browning Opt for fine granulated sugar
- Cream cheese 16 ounces: Softened cream cheese is essential for a smooth dense foundation Look for full fat blocks for best flavor
- Heavy cream 16 ounces: Whipped for fluffy texture in the filling Always use well chilled heavy whipping cream for best volume
- Sugar 1 cup: Mixed in the filling for sweetness and structure White granulated sugar dissolves best
- Powdered sugar 1 quarter cup: Adds structure and smoothness when whipping cream Sift before using to avoid lumps
- Peppermint extract 1 teaspoon: Delivers the classic minty taste Use pure peppermint for best aroma and avoid overdoing it
- Pink food coloring 6 drops: Turns the cheesecake a pretty festive pink Use gel coloring for vibrant shade and easy mixing
Step-by-Step Instructions
- Make the Oreo Crust:
- Crush Oreo cookies in a food processor until they are fine even crumbs. Add melted butter and sugar and blend until the texture resembles damp sand. Firmly press this mixture into the bottom and halfway up the sides of a springform pan using the back of a glass for an even compact layer.
- Chill the Crust:
- Let the crust sit in the refrigerator for at least half an hour until it is firm to the touch. This step keeps the base from getting soggy and helps the filling stay in place when you cut it.
- Prepare Cream Cheese Mixture:
- Beat softened cream cheese with sugar in a large bowl using a hand mixer or stand mixer until absolutely smooth and creamy with no lumps at all. Take a minute to scrape down the bowl as you go.
- Whip Heavy Cream:
- In a separate chilled bowl whip cold heavy cream with powdered sugar using a whisk or mixer until the cream forms stiff peaks and holds shape when you lift the beater.
- Combine Filling Components:
- Gently fold whipped cream into the cream cheese mixture a third at a time using a spatula to keep everything light and airy Then add peppermint extract and a few drops of pink coloring and fold until the color and flavor are fully blended with no streaks.
- Assemble the Cheesecake:
- Pour the fluffy peppermint filling onto your crust smoothing it evenly with a spatula. Take special care to spread the mixture to the edges for an even clean presentation.
- Chill Until Firm:
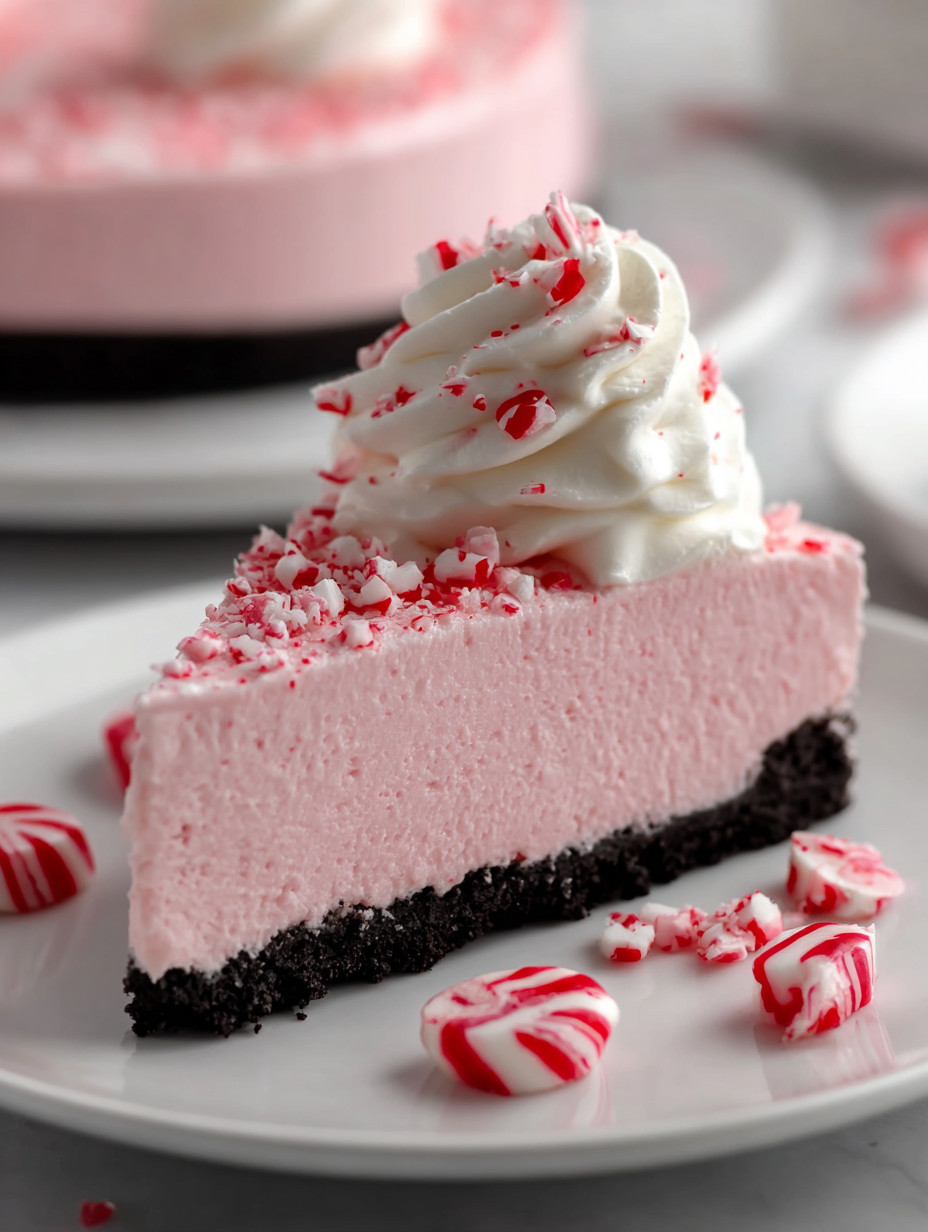
- Move the assembled cheesecake to the refrigerator and chill at least four hours until the filling is completely set and slices hold their shape beautifully.
- Garnish and Serve:
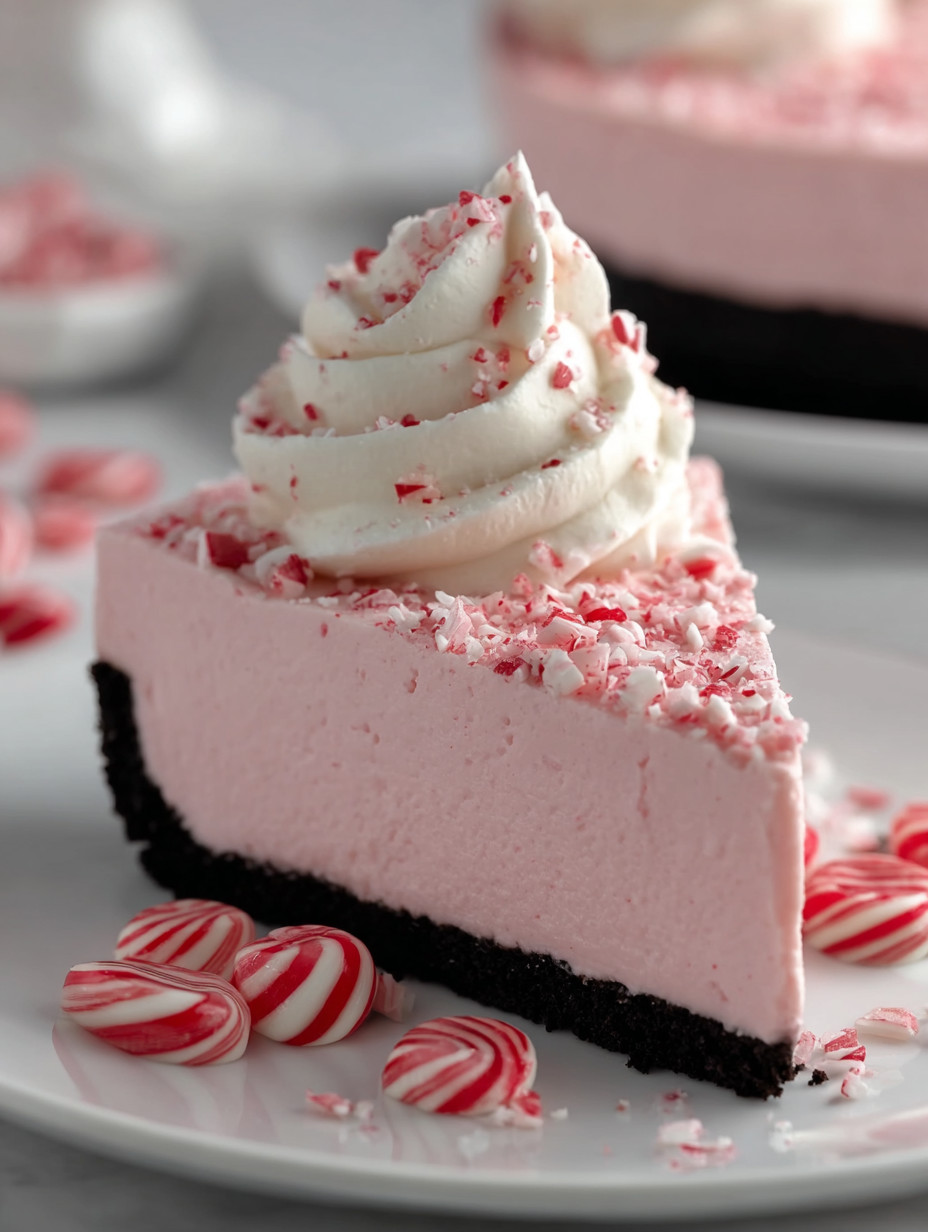
- Top your set cheesecake with a swirl of fresh whipped cream and a sprinkle of crushed peppermint candies for an extra festive touch. Slice with a sharp thin knife wiped clean between cuts for picture perfect pieces.
 Pin
Pin
I especially love the hint of peppermint in this cheesecake. It reminds me of winter nights making cookies with my kids while holiday music played in the background. We now make this cheesecake together every year and it is our signature holiday treat.
Storage Tips
Cover leftovers tightly and store in the fridge for up to five days. For longer keeping wrap well in plastic and foil and freeze for up to a month. Thaw overnight in the fridge before enjoying again. Sliced leftovers are perfect for packing into lunch boxes or bringing to school festivities.
Ingredient Substitutions
If you need a gluten free option use your favorite gluten free sandwich cookies for the crust and follow the rest of the recipe as listed. Those who prefer a different flavor can swap peppermint for pure vanilla or even almond extract. For a vegan option pick plant based cream cheese and whipped topping plus a dairy free butter substitute and cookies.
 Pin
Pin
Serving Suggestions
This cheesecake is a showstopper on its own but you can dress it up with a drizzle of melted chocolate or a handful of tart raspberries for color. Serve chilled on festive plates with peppermint cocoa peppermint tea or even espresso to balance the sweet creamy flavors. The pink color makes it perfect for baby showers or Valentine’s Day too.
Cultural and Holiday Traditions
Peppermint and chocolate are a classic winter pairing loved in North American and European holiday desserts. Cheesecakes like this go back to midcentury home cooks who wanted fuss free but impressive treats for parties. No bake styles rose in popularity during the 1950s and remain a favorite for modern families seeking easy festive options without heating the kitchen.
Recipe FAQs
- → Can I use a different cookie for the crust?
Yes, graham crackers or chocolate wafers can be used as a substitute. Adjust the amount of melted butter slightly to ensure the crust binds firmly.
- → Is this dessert gluten-free?
The classic crust includes Oreo cookies which contain gluten, but gluten-free cookie varieties can be substituted to suit gluten-sensitive diets.
- → How long should the dessert chill before serving?
Chilling for at least 4 hours is recommended for the filling to set properly, though overnight chilling enhances flavor and firmness.
- → Can this be adapted for vegan diets?
By swapping cream cheese and heavy cream with plant-based alternatives and using vegan cookies for the crust, this can be made suitable for vegan preferences.
- → Is the pink coloring necessary?
The pink tint is optional and can be omitted or replaced with natural colorings like beet juice for a festive touch without artificial dye.
- → How can I prevent the crust from becoming soggy?
Press the crust firmly into the pan and chill it before adding the filling. This creates a sturdy barrier that keeps moisture from softening the crust.