
 Pin
Pin
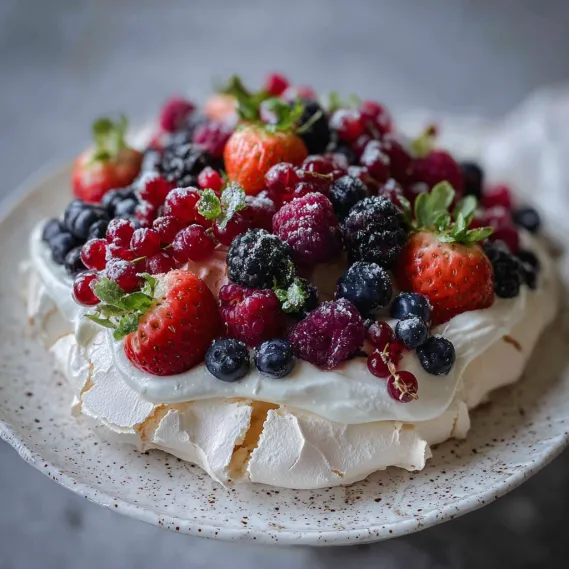
There is something truly celebratory about pavlova with clouds of whipped cream and vibrant fresh berries piled high. This dessert is light yet satisfying making it perfect for gatherings or a festive close to any meal. Even if you have never tried a meringue before pavlova is surprisingly easy to master with just a little patience.
I made this pavlova for my mother’s birthday one spring and now it is her most-requested treat at every family holiday. People are always amazed by its dramatic look and the soft chewy center hiding under that crisp exterior.
Ingredients
- Large eggs: Use eggs at room temperature for best volume Select fresh eggs from a trusted source for stable whites
- Fine sugar: Dissolves more easily and ensures the pavlova is smooth Look for superfine or grind your own if needed
- Salt: Enhances the sweet notes Choose a pure salt with no additives
- Cream of tartar or vinegar: Stabilizes the beaten whites Use cream of tartar if you have it but white vinegar works in a pinch
- Vanilla: Optional but adds mellow flavor Choose pure vanilla extract for best results
- Heavy whipping cream: Gives body to the topping Use well-chilled cream for easy whipping
- Sugar: Sweetens the whipped cream Adjust to your taste granulated sugar is perfect here
- Lemon zest or Meyer lemon zest: Brightens the cream look for unwaxed lemons for best zest
- Berry jam or lemon curd: Swirled into the cream adds richness and contrast Choose a tart berry jam or lemon curd for balance
- Fresh berries: The star of your topping Use a mix of ripe seasonal berries such as strawberries blueberries or blackberries for color and flavor
Step-by-Step Instructions
- Separate the Eggs:
- Carefully separate cold eggs keeping whites free of any yolk Place whites in a clean dry bowl and let them reach room temperature This maximizes whip volume
- Whip the Egg Whites:
- Whip egg whites in a stand mixer with a clean bowl Start on medium until they look foamy Add cream of tartar Keep whipping until soft peaks hold their shape
- Add Sugar Gradually:
- Add sugar just one tablespoon at a time letting each dissolve before the next Keep the mixer running on higher speed Once stiff glossy peaks form check for sugar to be fully dissolved by rubbing a little between your fingers
- Finish the Meringue:
- When whites are stiff add salt and vanilla Beat again for about thirty seconds Your meringue should look smooth and pillowy with no graininess
- Shape the Pavlova:
- Scoop the meringue onto parchment lined baking sheet shaped into an eight or nine inch circle Use a spatula to make a gentle dip in the center and higher sides for the classic pavlova look
- Bake and Cool:
- Bake at a reduced temperature for two hours until the pavlova feels dry to the touch Leave it in the oven with the door closed to cool for at least two hours or overnight to avoid cracks
- Whip the Cream:
- Be sure your cream is very cold Whip with sugar and optional zest until soft peaks form Fold in jam or curd for extra flavor
- Assemble and Serve:
- Right before serving spread the whipped cream over the cooled pavlova and top with plenty of fresh berries Serve at once for the best contrast of textures
 Pin
Pin
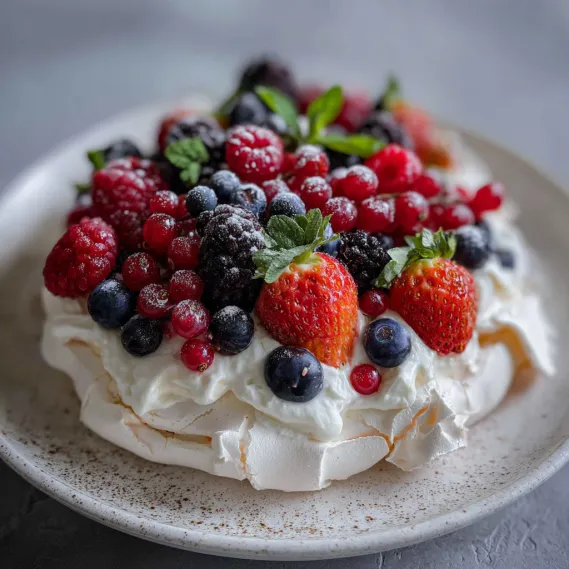
The whipped cream combined with tangy jam is absolutely irresistible making this dessert truly memorable for both kids and adults I have fond memories of my sister carefully arranging the berries on top with great pride before we sang happy birthday
Storage Tips
Store the baked and fully cooled pavlova base in an airtight container at room temperature for up to three days Do not top with cream or fruit until ready to serve as this will soften the meringue Leftovers with cream and berries are best eaten the same day
Easy Ingredient Substitutions
If you are out of cream of tartar simply use an equal amount of white vinegar for stabilizing the egg whites For a different flavor try orange zest instead of lemon in the whipped cream Use toasted coconut or passion fruit curd in place of berry jam for a tropical twist
 Pin
Pin
Serving Suggestions
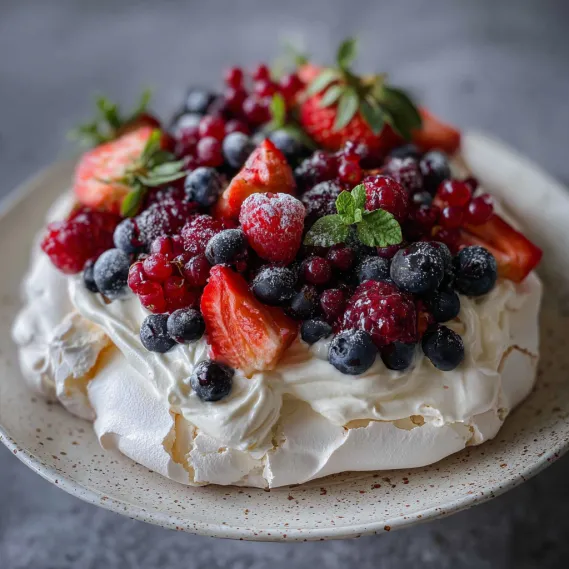
Pavlova is wonderful as a centerpiece dessert for birthdays holidays or picnics For a fancier presentation serve with a few sprigs of mint or edible flowers Make mini versions for individual servings at showers or tea parties
A Bit About Pavlova
Pavlova is named after the famous ballerina Anna Pavlova who toured Australia and New Zealand in the early twentieth century Both countries claim the treat as their own The dessert’s signature combination of a crisp shell and pillowy soft center is enjoyed year round but especially beloved in spring and summer for its celebration of fresh fruit
Recipe FAQs
- → How do I achieve stiff, glossy meringue peaks?
Use room-temperature egg whites and add sugar gradually while whipping. Ensure your bowl is clean and dry, and continue beating until the mixture looks glossy and holds stiff peaks.
- → Can I make the base ahead of time?
Yes, you can prepare the pavlova base one or two days in advance. Store it in an airtight container at room temperature to maintain its texture.
- → Why does the oven cool down gradually after baking?
Slow cooling prevents the meringue from cracking and helps maintain the crisp exterior and chewy interior characteristic of pavlova.
- → What substitutes work for cream of tartar?
You can use white vinegar in place of cream of tartar. Both ingredients help stabilize the eggs, creating a better meringue structure.
- → Is it possible to make individual mini pavlovas?
Absolutely, spoon or pipe smaller rounds onto parchment and adjust baking times as needed for smaller portions.